
After a few years of using EC2 boxes for development and production, this has become my routine setup for micro and small instances.
If you need to start up a new instance, take a look at my previous post.
I'm assuming you're already ssh-ed into your instance, so.. Let's go!
Let's make sure you have all the latest goodness.
Running the update with --changelog will allow you to keep track of what's changing.
$ sudo yum install yum-plugin-changelog
$ sudo yum update --changelog
SWAP FILE
We only have 1 GB of memory available and no virtual memory to extend it. That alone is a major cause of server crashes and hangups. Simply creating a swap file is a well-known, effective micro instance tweak.
Create and activate a 2 GB swap file with the following:
$ sudo dd if=/dev/zero of=/swapfile bs=1M count=2048
$ sudo mkswap /swapfile
$ sudo chmod 0600 /swapfile
$ sudo swapon /swapfile
We generate the file with dd, make a swap filesystem with mkswap, set proper permissions with chmod, and mount it with swapon.
Add the following line to /etc/fstab to make it persist over reboot:
$ sudo vim /etc/fstab
/swapfile swap swap defaults 0 0
Feel free to use any other editor than VIM.
However VIM is very simple. Press i to be able to insert/paste text. esc to exit a mode, :x to save and quit.
Now that we have virtual memory, let's double check it.
Type $ free and you should see the following.

You can see the last line, with our 2Gb of swap file!
NGINX and PHP
$ sudo amazon-linux-extras enable php7.3 nginx1.12
$ sudo yum install nginx php-cli php-pdo php-fpm php-json php-odbc php-soap php-mbstring php-bcmath php-ldap php-gd php-mcrypt php-mysqlnd
PHP-FPM configuration. (FastCGI Process Manager)
Add the following to the end of /etc/php-fpm.d/www.conf:
$ sudo vim /etc/php-fpm.d/www.conf
Look for this line (towards the beginning) listen.acl_users = apache,nginx and put a semicolon in front of it, like the following: ;listen.acl_users = apache,nginx.
Now scroll to the end of the file and copy and paste this configuration:
[global]
emergency_restart_threshold = 10
emergency_restart_interval = 1m
process_control_timeout = 10s

[www]
listen = /var/run/php-fpm/php-fpm.sock
listen.owner = nginx
listen.group = www
listen.mode = 0664
user = nginx
group = www

pm.max_children = 20
pm.start_servers = 5
pm.min_spare_servers = 5
pm.max_spare_servers = 20
pm.max_requests = 200

php_admin_value[memory_limit] = 256M
Nginx is setup to work with the group www. We need to create the group and set the proper permission schema.
Type in $ groups and verify that www doesn't already exist.
We can easily add it with the following commands.
$ sudo groupadd www
$ sudo usermod -a -G www ec2-user
$ exit - this will terminate your ssh session. Ssh in again and type,
$ groups to verify that the new www group has been added.
Let's create our www directory.
$ sudo mkdir /var/www
Set write permissions to /var/www for www group.
$ sudo chown -R root:www /var/www
We need to change the web root directory permissions so that the www group has write permissions:
$ sudo chmod 2775 /var/www
We also need to set the same permissions for any future subdirectories:
$ find /var/www -type d -exec sudo chmod 2775 {} +
Then we do the same for files within those directories and subdirectories:
$ find /var/www -type f -exec sudo chmod 0664 {} +
Now we're good to configure your website and the location where your project will be. Feel free to customize this part with your own domain and project name.
$ sudo mkdir /etc/nginx/sites-enabled
$ sudo vim /etc/nginx/sites-enabled/example.com.conf
server {
    listen 80;
    server_name example.com;

    root /var/www/example/public;
    index index.html index.htm index.php;

    charset utf-8;

    location / {
        try_files $uri $uri/ /index.php?$query_string;
    }

    location = /favicon.ico { access_log off; log_not_found off; }
    location = /robots.txt  { access_log off; log_not_found off; }

    access_log /var/log/nginx/example.com_access.log;
    error_log /var/log/nginx/example.com_error.log;

    location ~ \.php$ {
        fastcgi_split_path_info ^(.+\.php)(/.+)$;
        fastcgi_pass unix:/var/run/php-fpm/php-fpm.sock;
        fastcgi_index index.php;
        include fastcgi.conf;
    }

    location ~ /\.ht {
        deny all;
    }
}

server {
    listen 80;
    server_name www.example.com;

    return 301 http://example.com$request_uri;
}
To allow us to manage multiple domain or subdomain on the same server, we need to tell Nginx to load all the files under sites-enabled folder.
To do so, type:
$ sudo vim /etc/nginx/nginx.conf
After include /etc/nginx/conf.d/*.conf; add:
include /etc/nginx/sites-enabled/*.conf;
and save.
Before we start our services, we need to create our project folder.
$ sudo mkdir -p /var/www/example
To test things out, let's put a piece of php in it.
$ cd /var/www/example
$ sudo mkdir public
$ cd public
$ sudo vim index.php
Copy and paste the following.
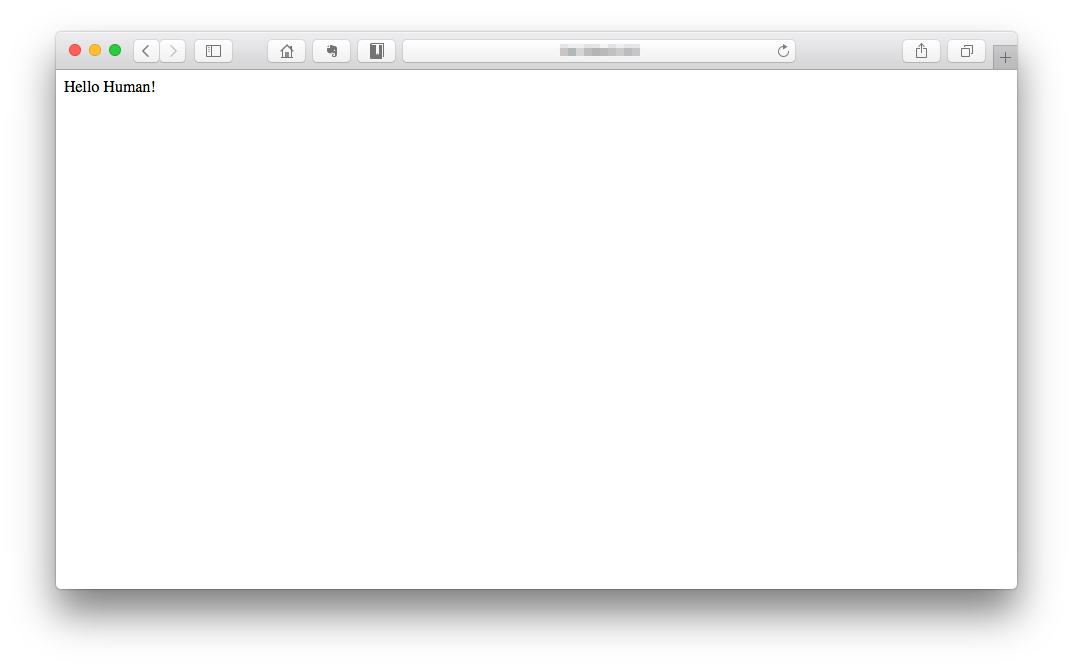
<?php
  echo 'Hello Human!';
Comment out the section as shown, we're gonna disable the default "Welcome to NGINX" screen.
#    server {
#        listen       80 default_server;
#        listen       [::]:80 default_server;
#        server_name  _;
#        root         /usr/share/nginx/html;

        # Load configuration files for the default server block.
#        include /etc/nginx/default.d/*.conf;

#        location / {
#        }

#        error_page 404 /404.html;
#            location = /40x.html {
#        }

#        error_page 500 502 503 504 /50x.html;
#            location = /50x.html {
#        }
#    }
Save the file and exit.
Now let's start the engines!
$ sudo chkconfig nginx on — Set autostart.
$ sudo chkconfig php-fpm on — Set autostart.
$ sudo service nginx start
$ sudo service php-fpm start
If you want to run a quick test, you can type in http://your-public-ip-address in your browser and you should see:
Take a moment, to congratulate yourself!
MYSQL
Install MySql server with:
$ sudo yum install mariadb-server
Like before, start it up with:
$ sudo chkconfig mysqld on — Set autostart.
$ sudo service mysqld start
To secure your database installation type:
$ sudo mysql_secure_installation
Set a root password and accept the remaining steps.
Consider your need for remote access. If you need it, say no when asked: "Disallow root login remotely?".
Enjoy your new server!