
So, you want to get started with Amazon Elastic Compute Cloud (Amazon EC2)?
Let's get to it.
Sign in or if you don't have a AWS account you can create one here.

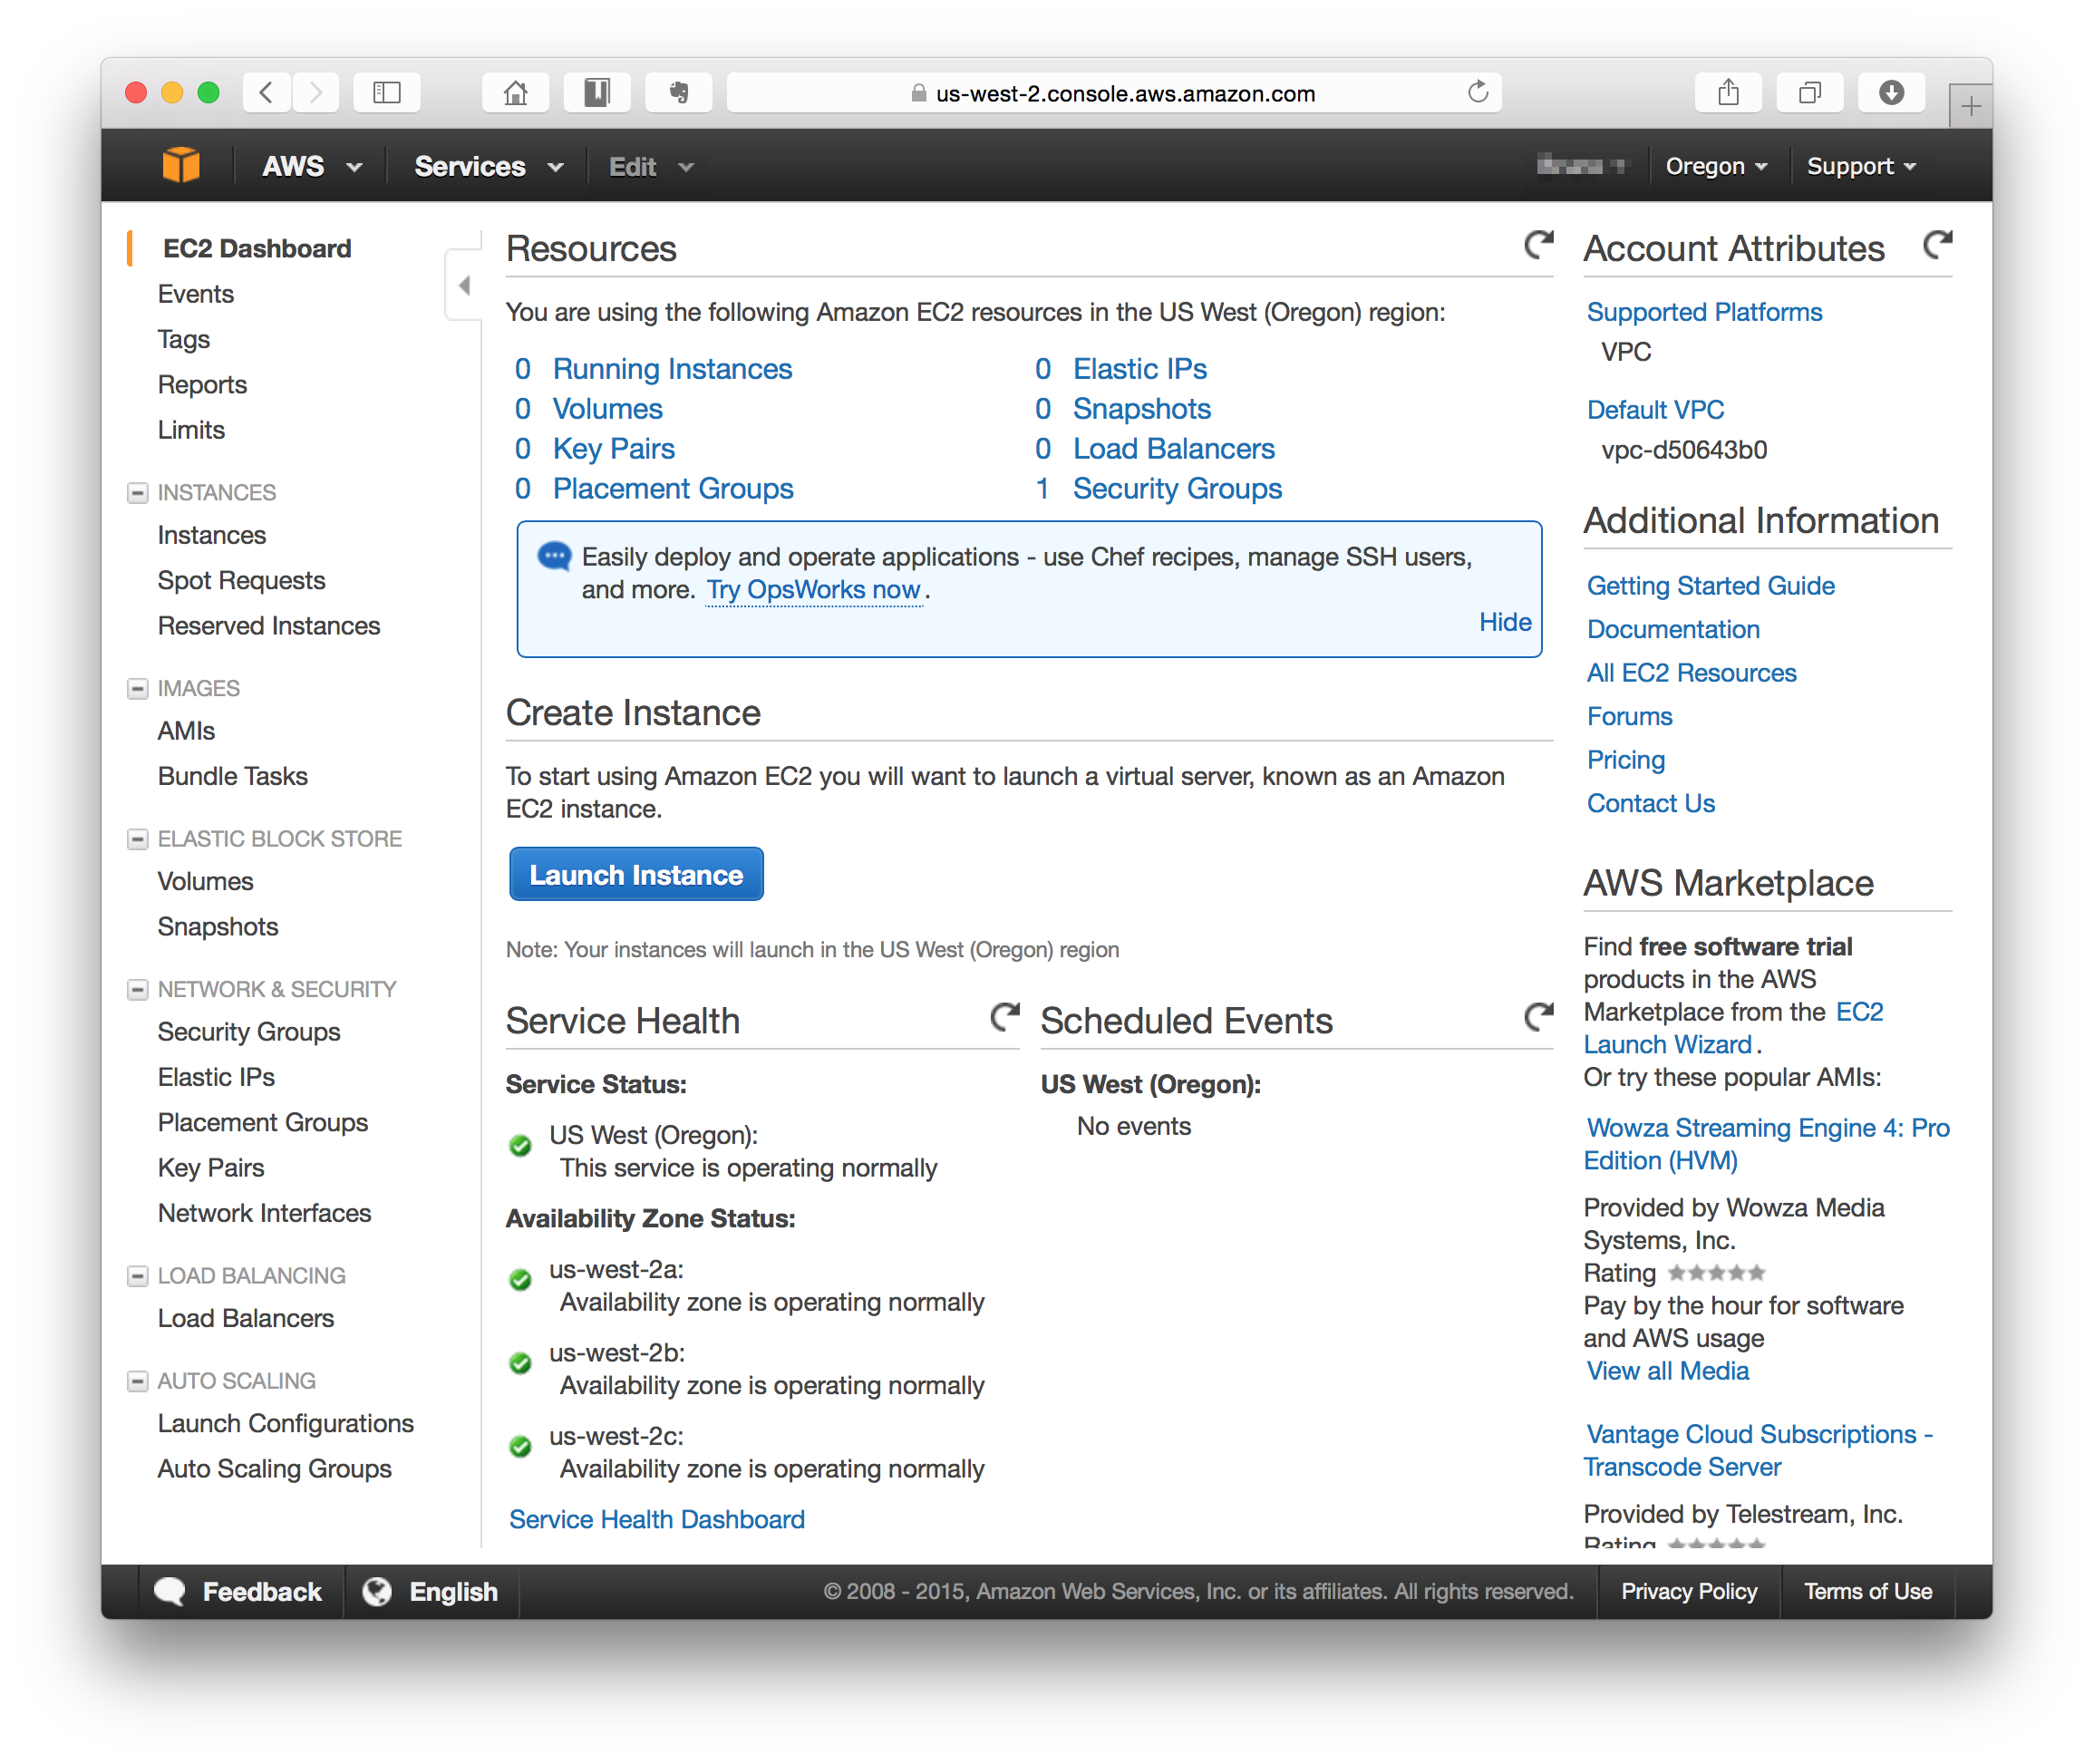
Click on "Launch Instance".
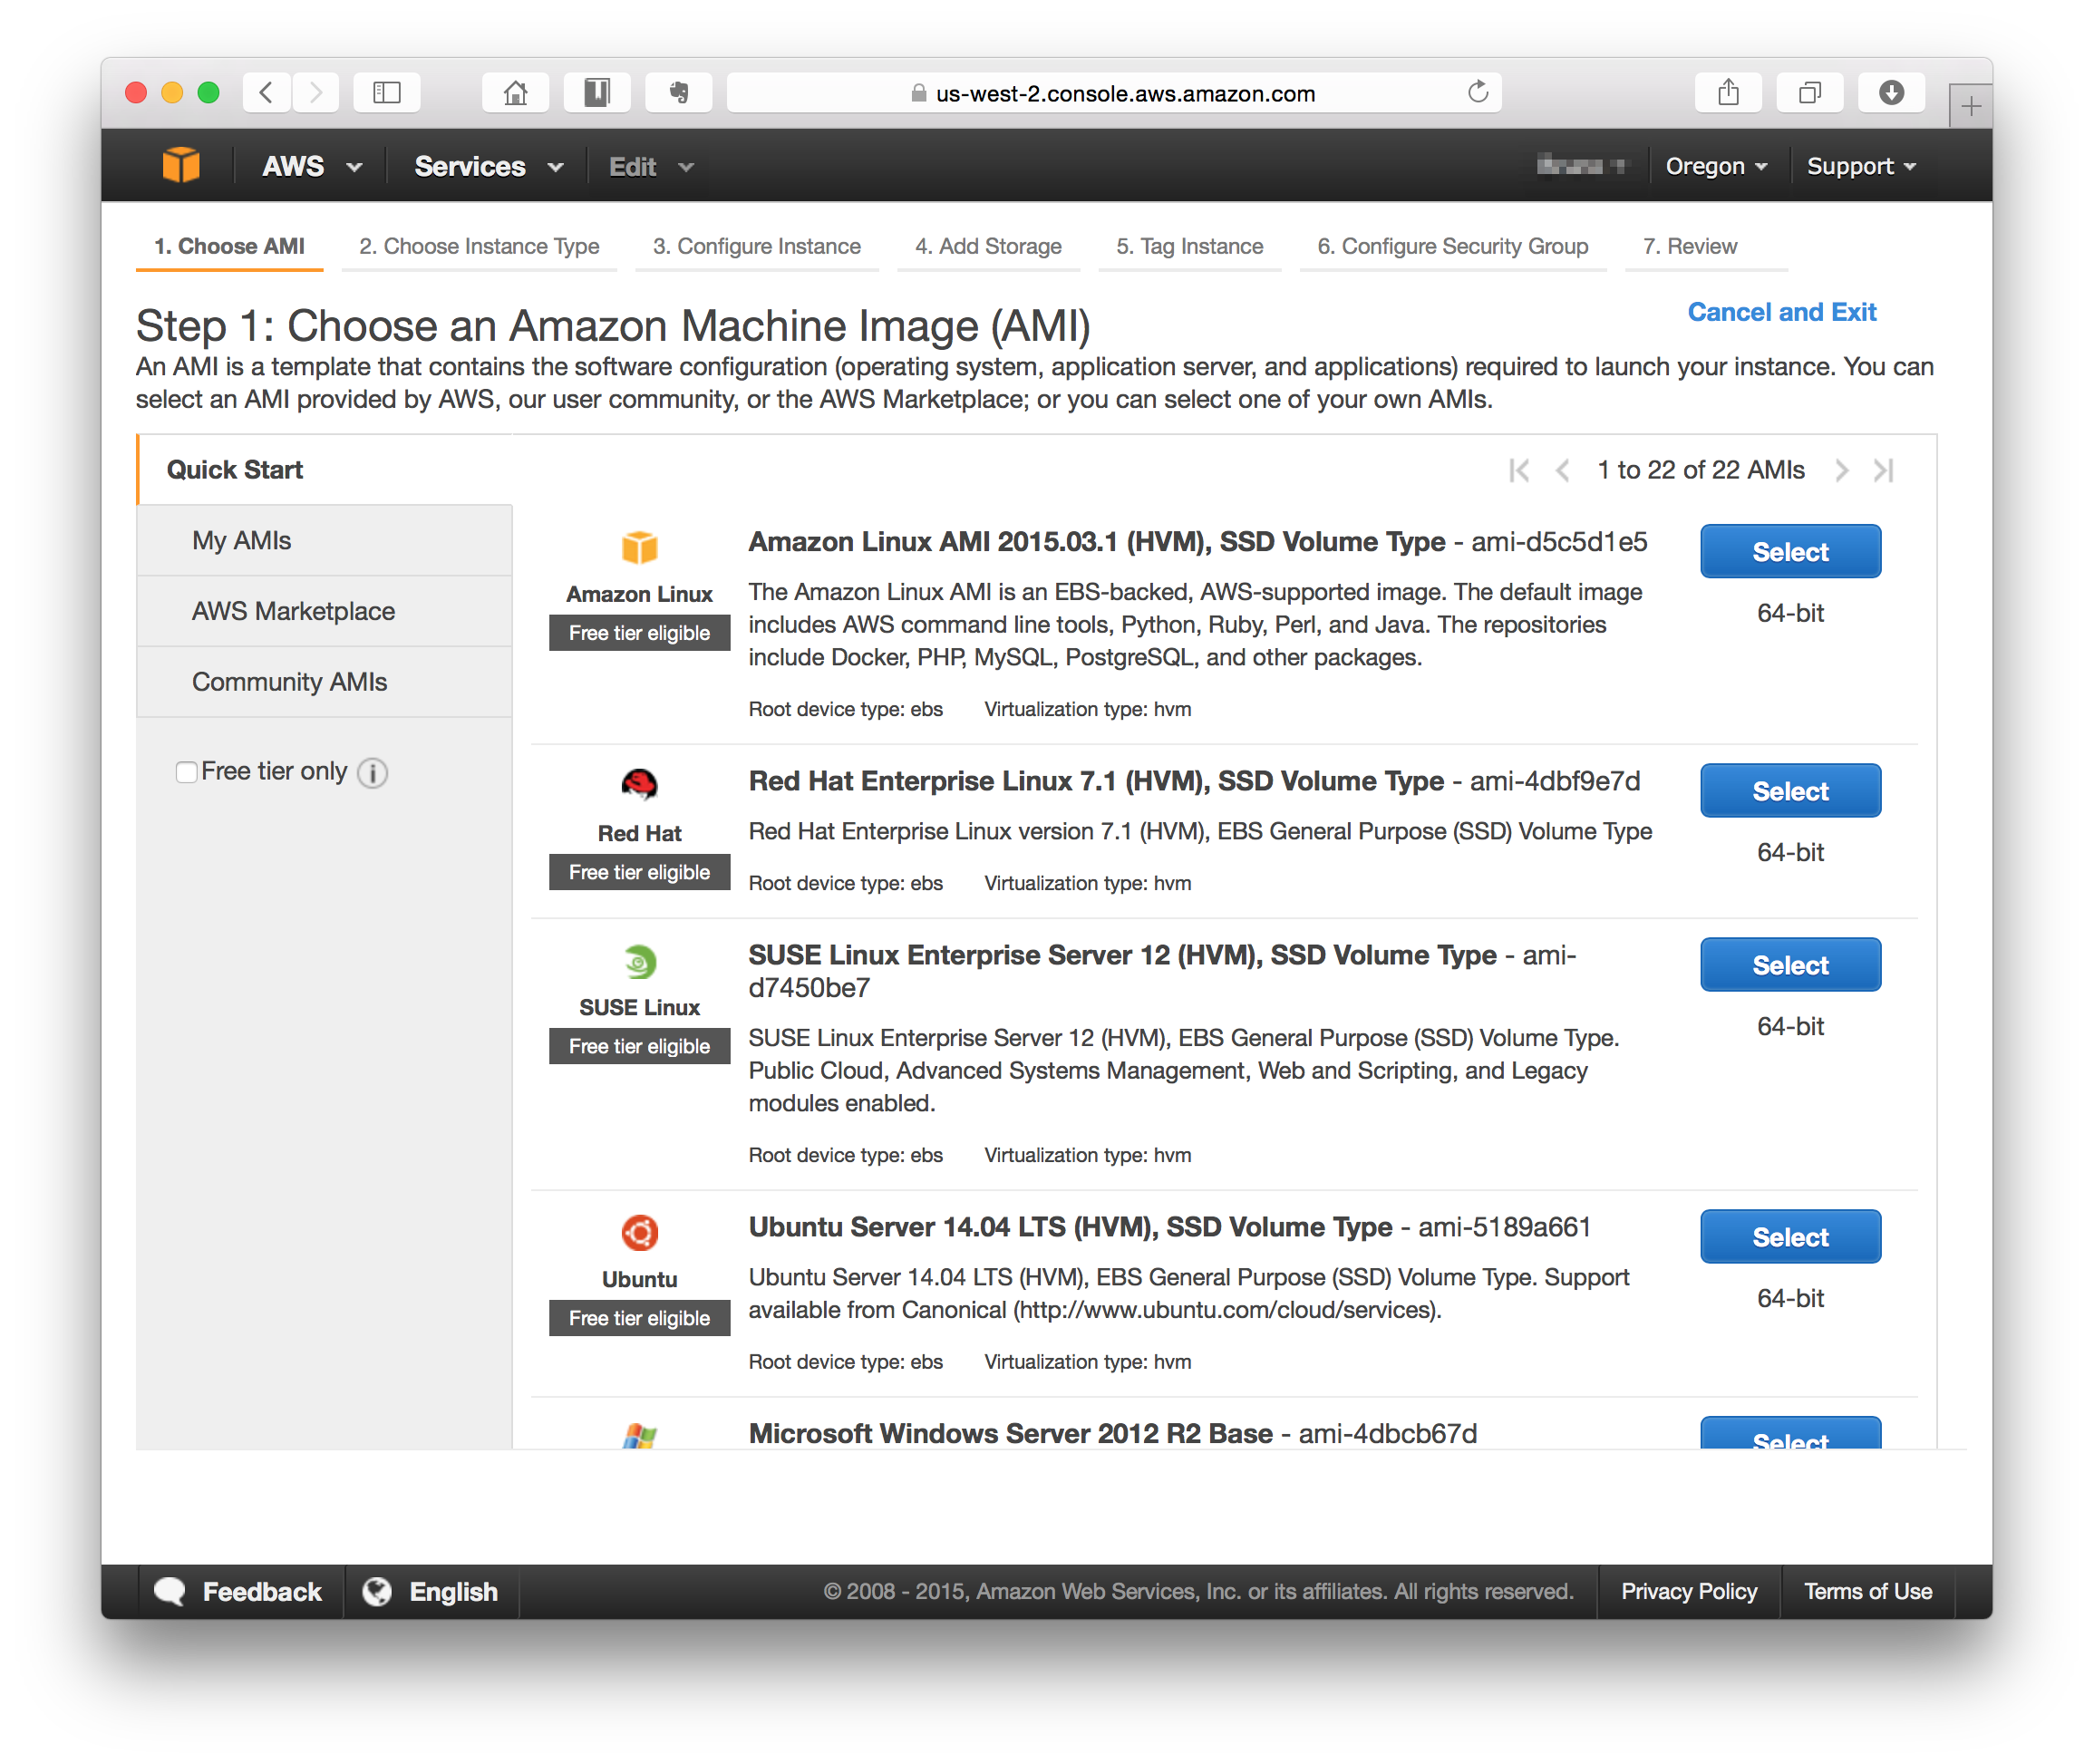
Select Amazon Linux 2 AMI (HVM) instance type. This is a good choice as it is designed by Amazon specifically for use on EC2.
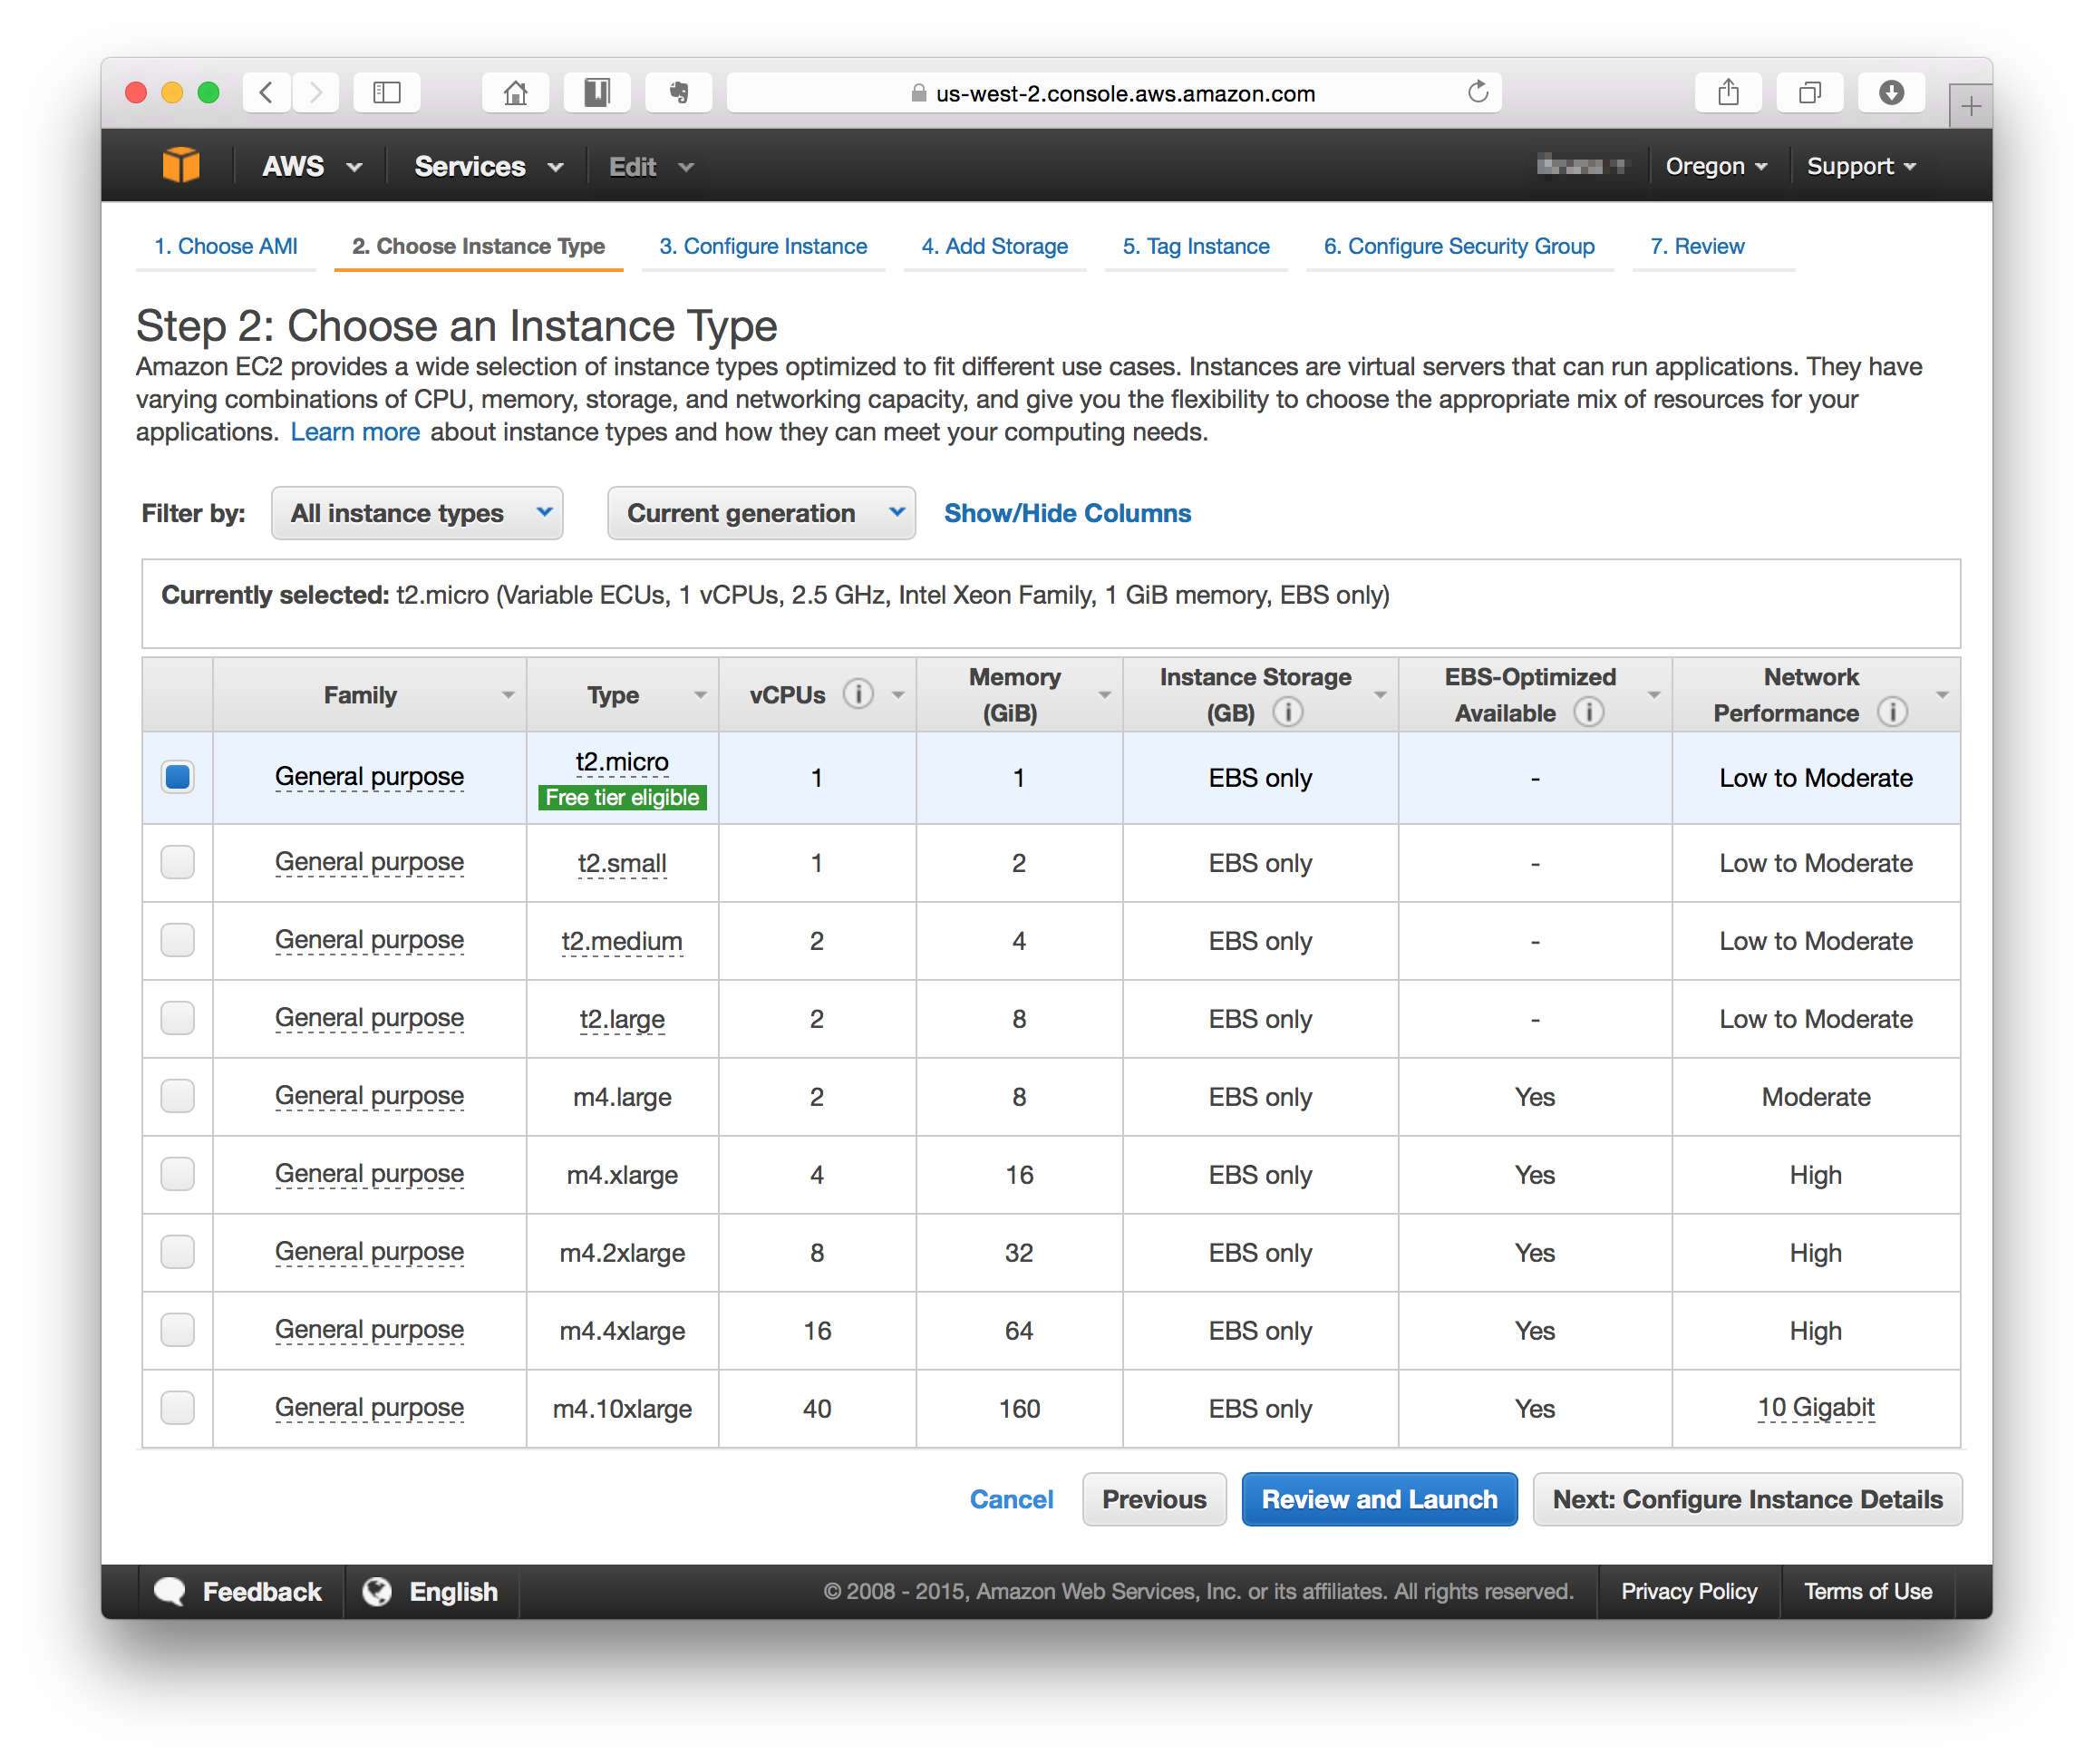
Select t2.micro "Free Tire" instance, click on "Review and Launch".
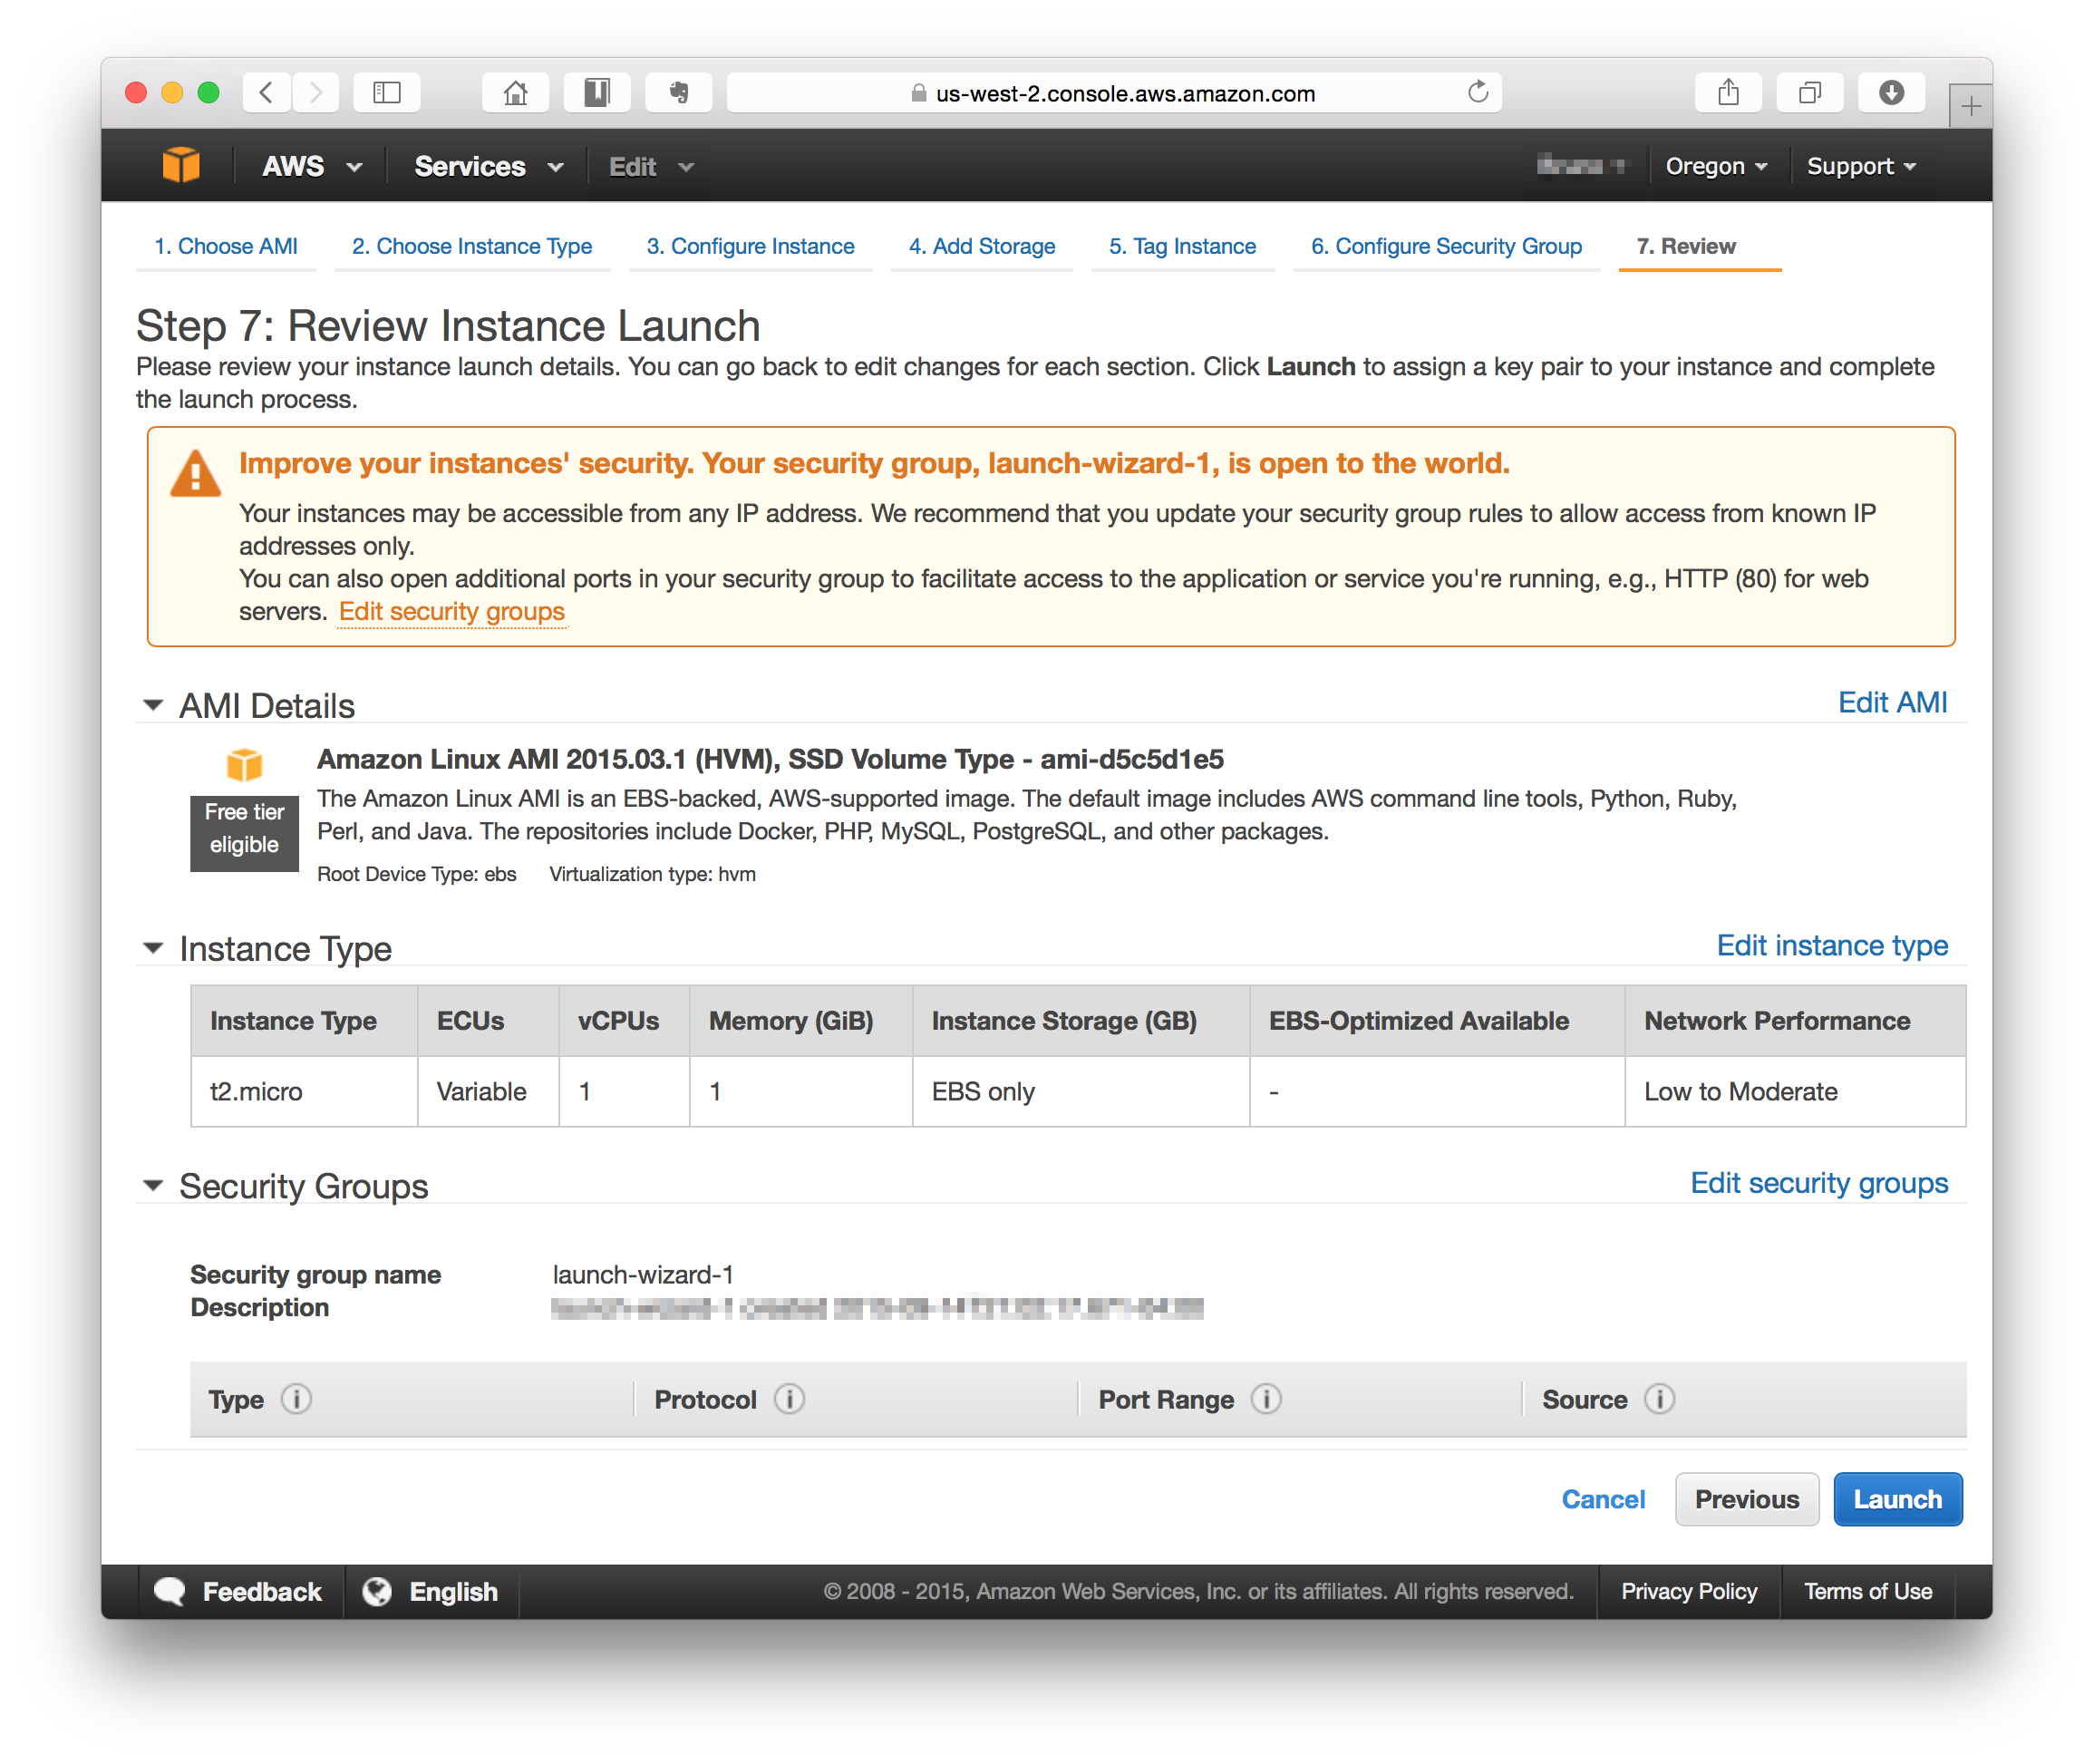
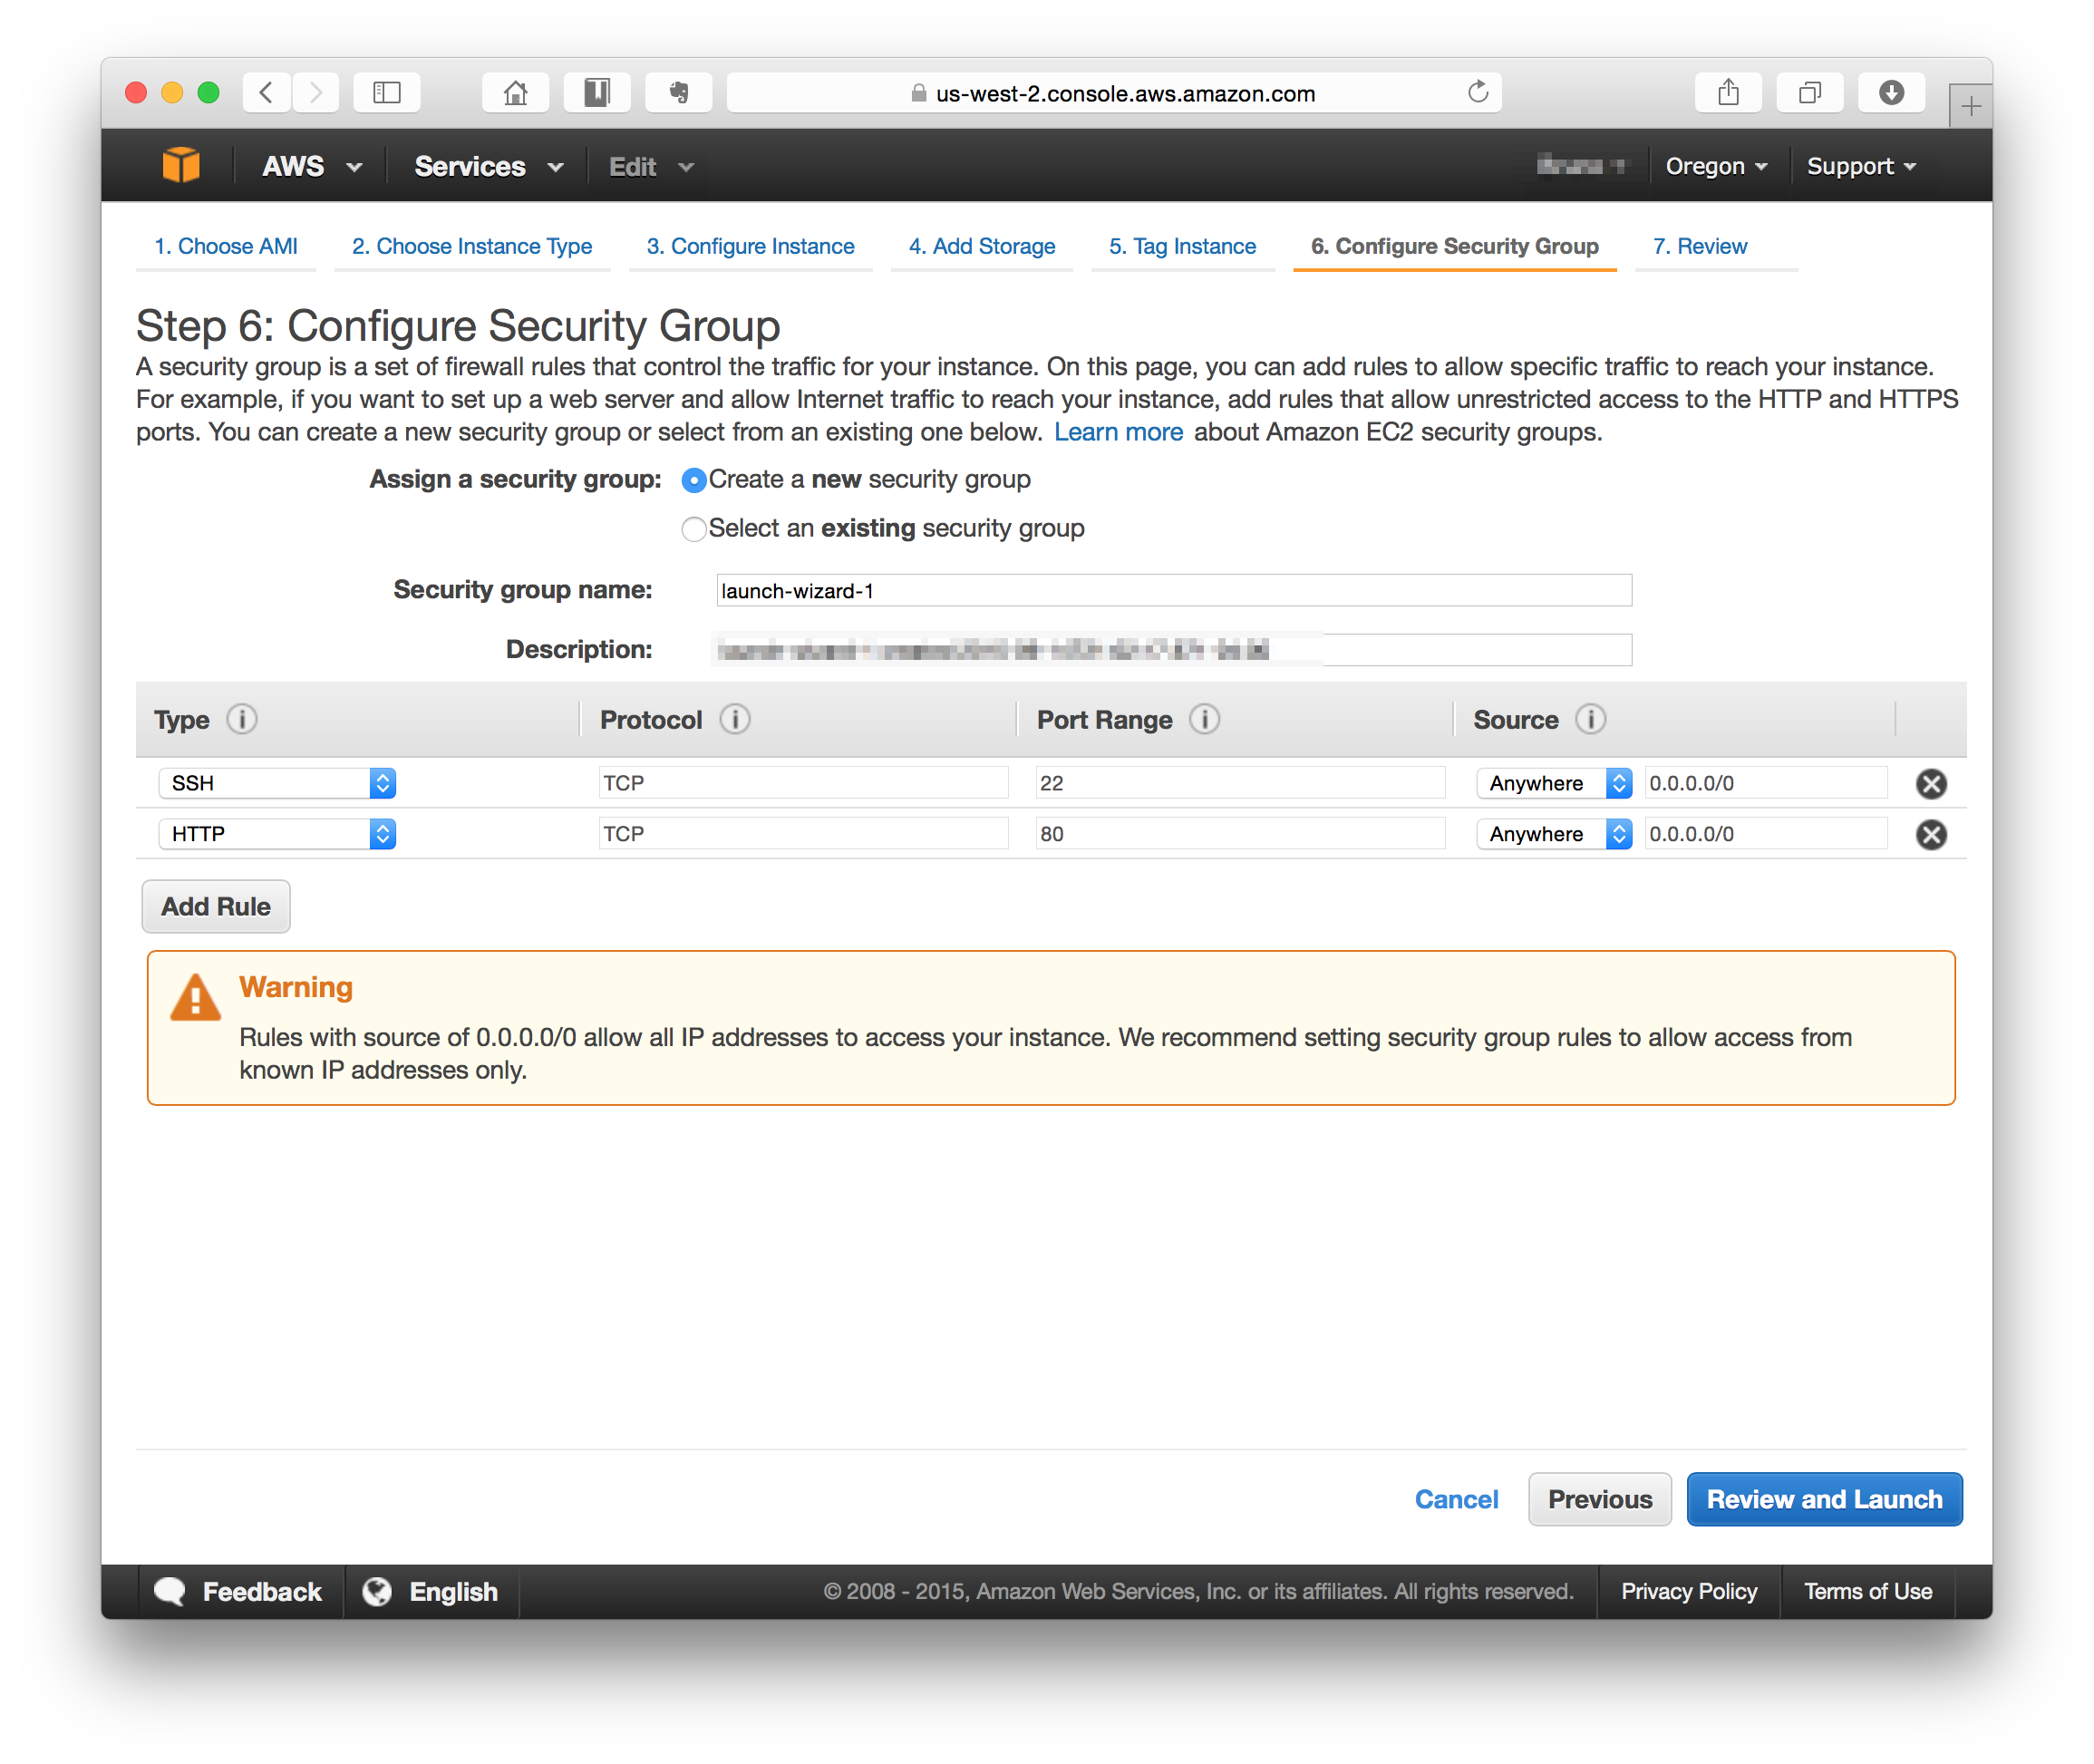
Scroll down and click on "Edit security groups"
Make sure you add HTTP rule to the group like is shown on the screenshot. Source 0.0.0/0 means you are accepting connections from any IP address.
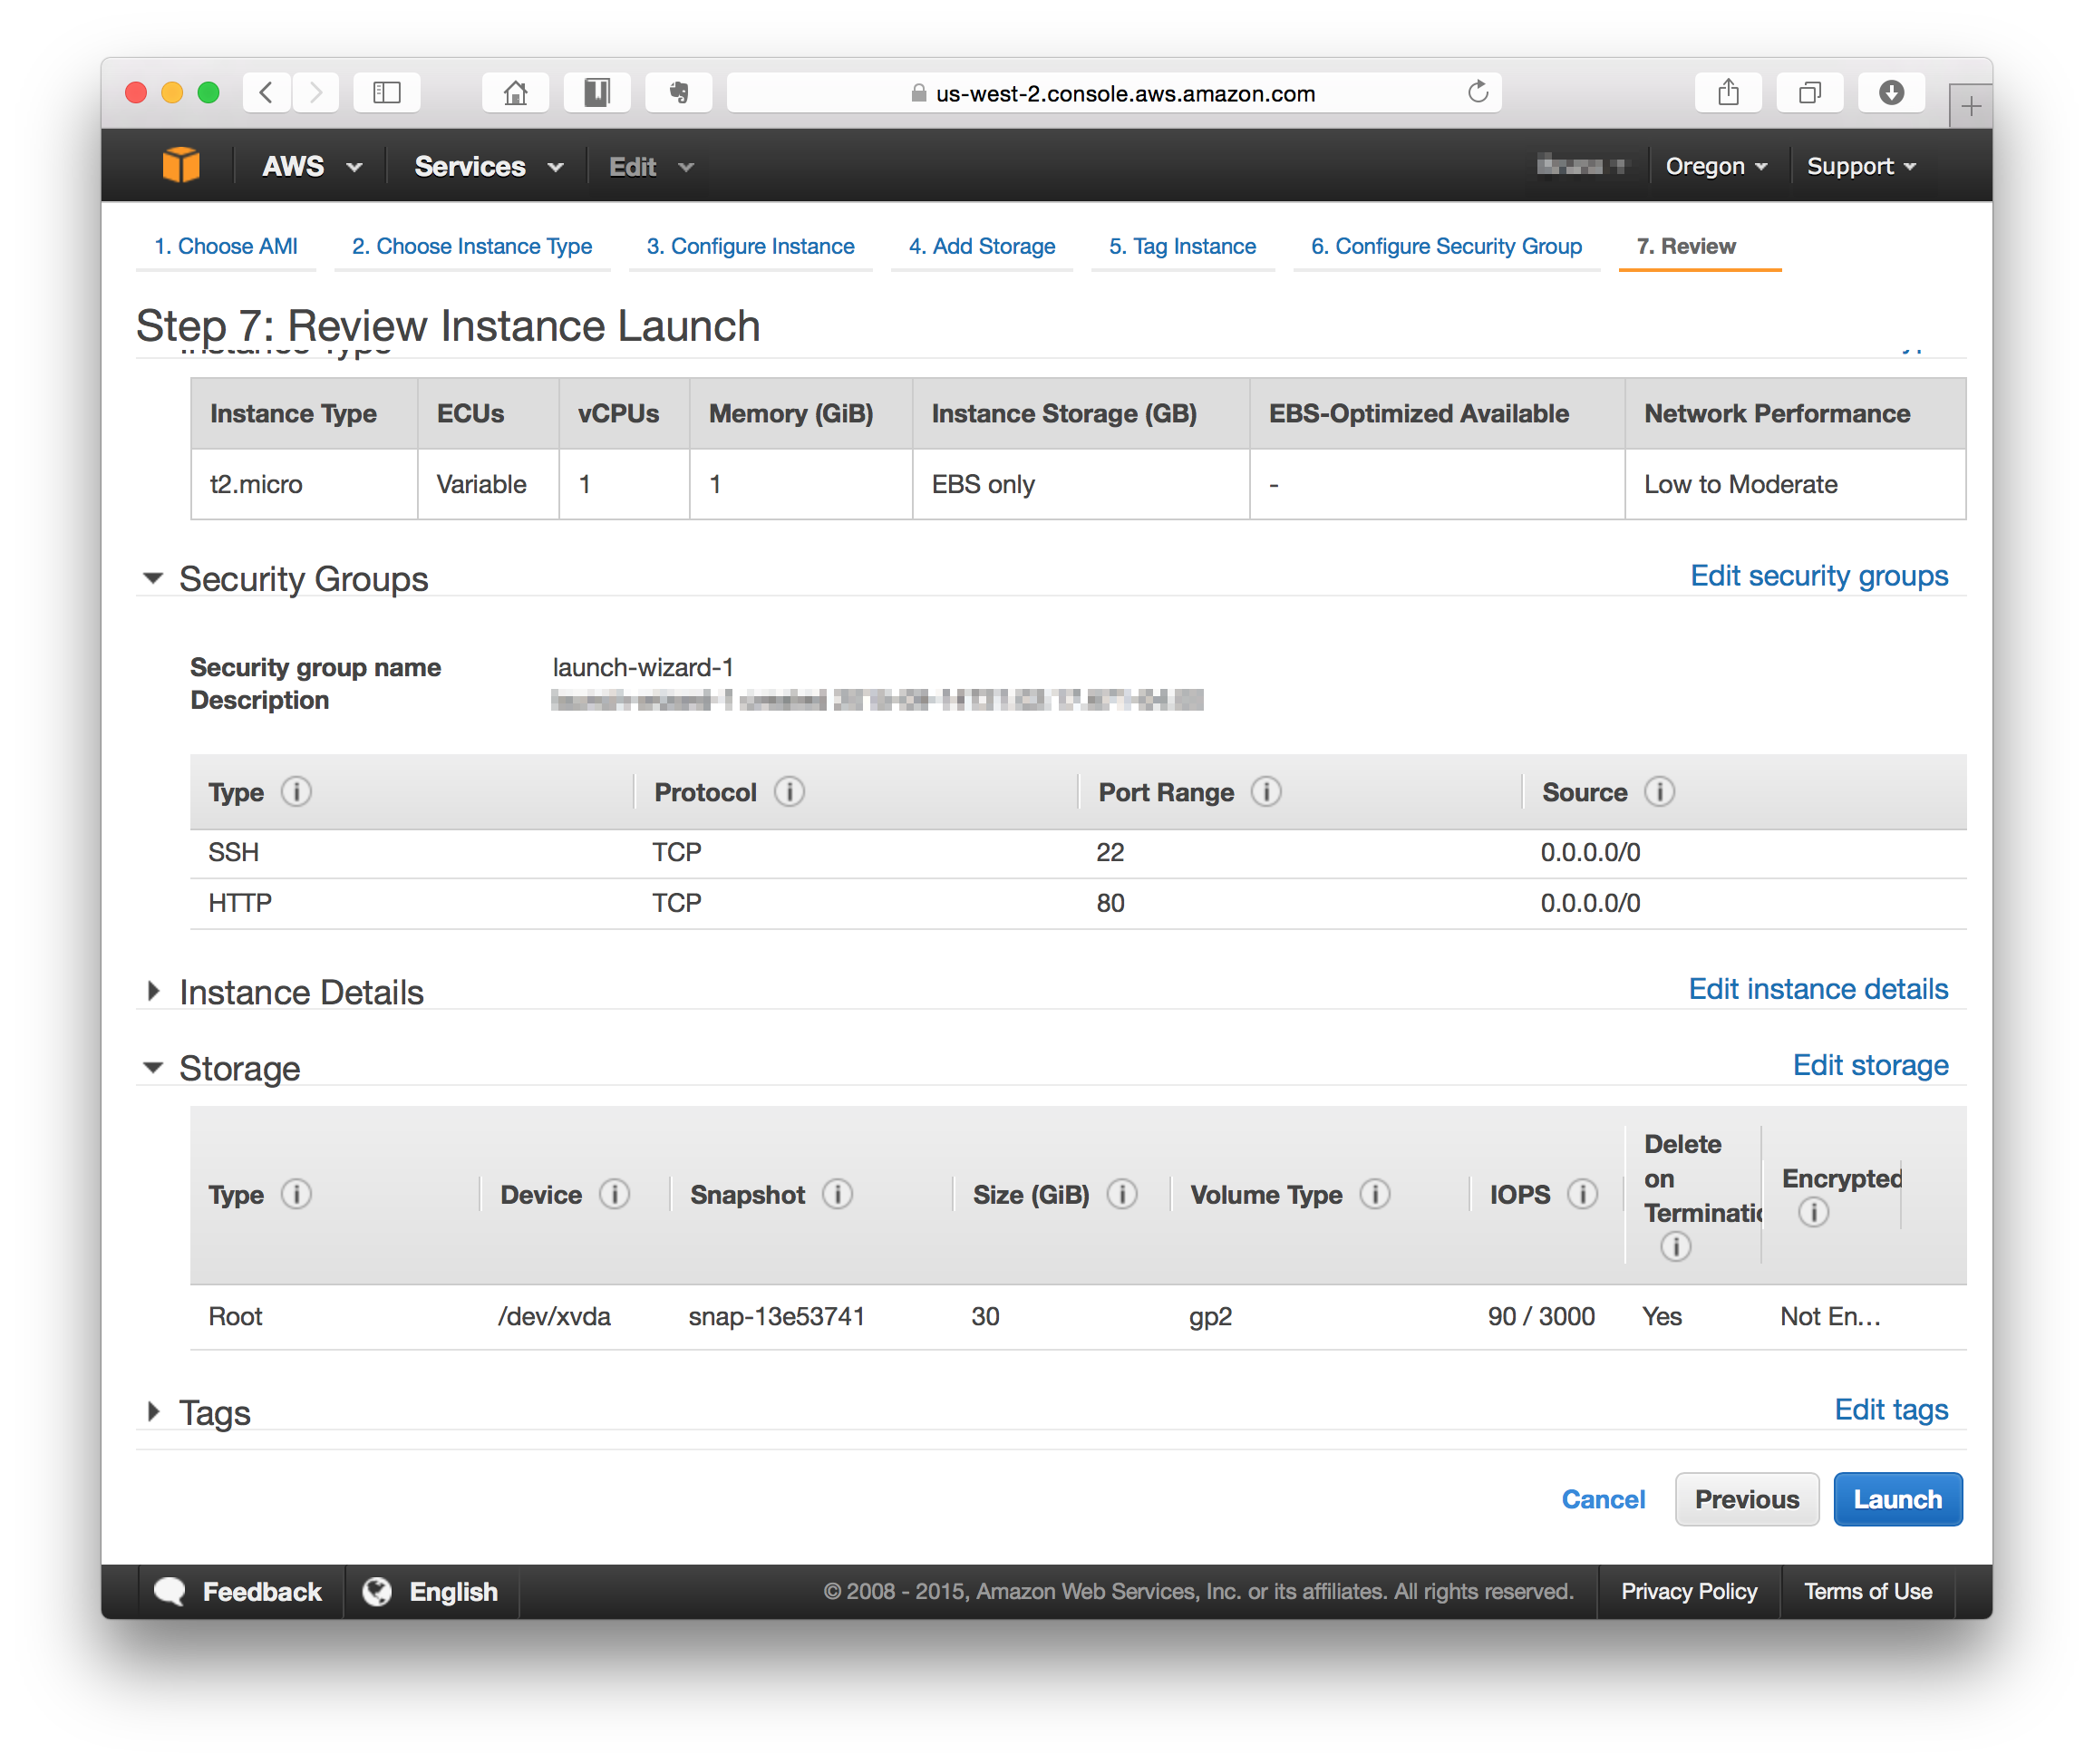
Scroll down and review the storage type. I recommend SSD with at least 10Gb. I'll go for 20Gb. HDD space is really cheap. (General Purpose SSD is about $0.10 per GB-month of provisioned storage.)

Make sure to review all the settings and hit "Launch".
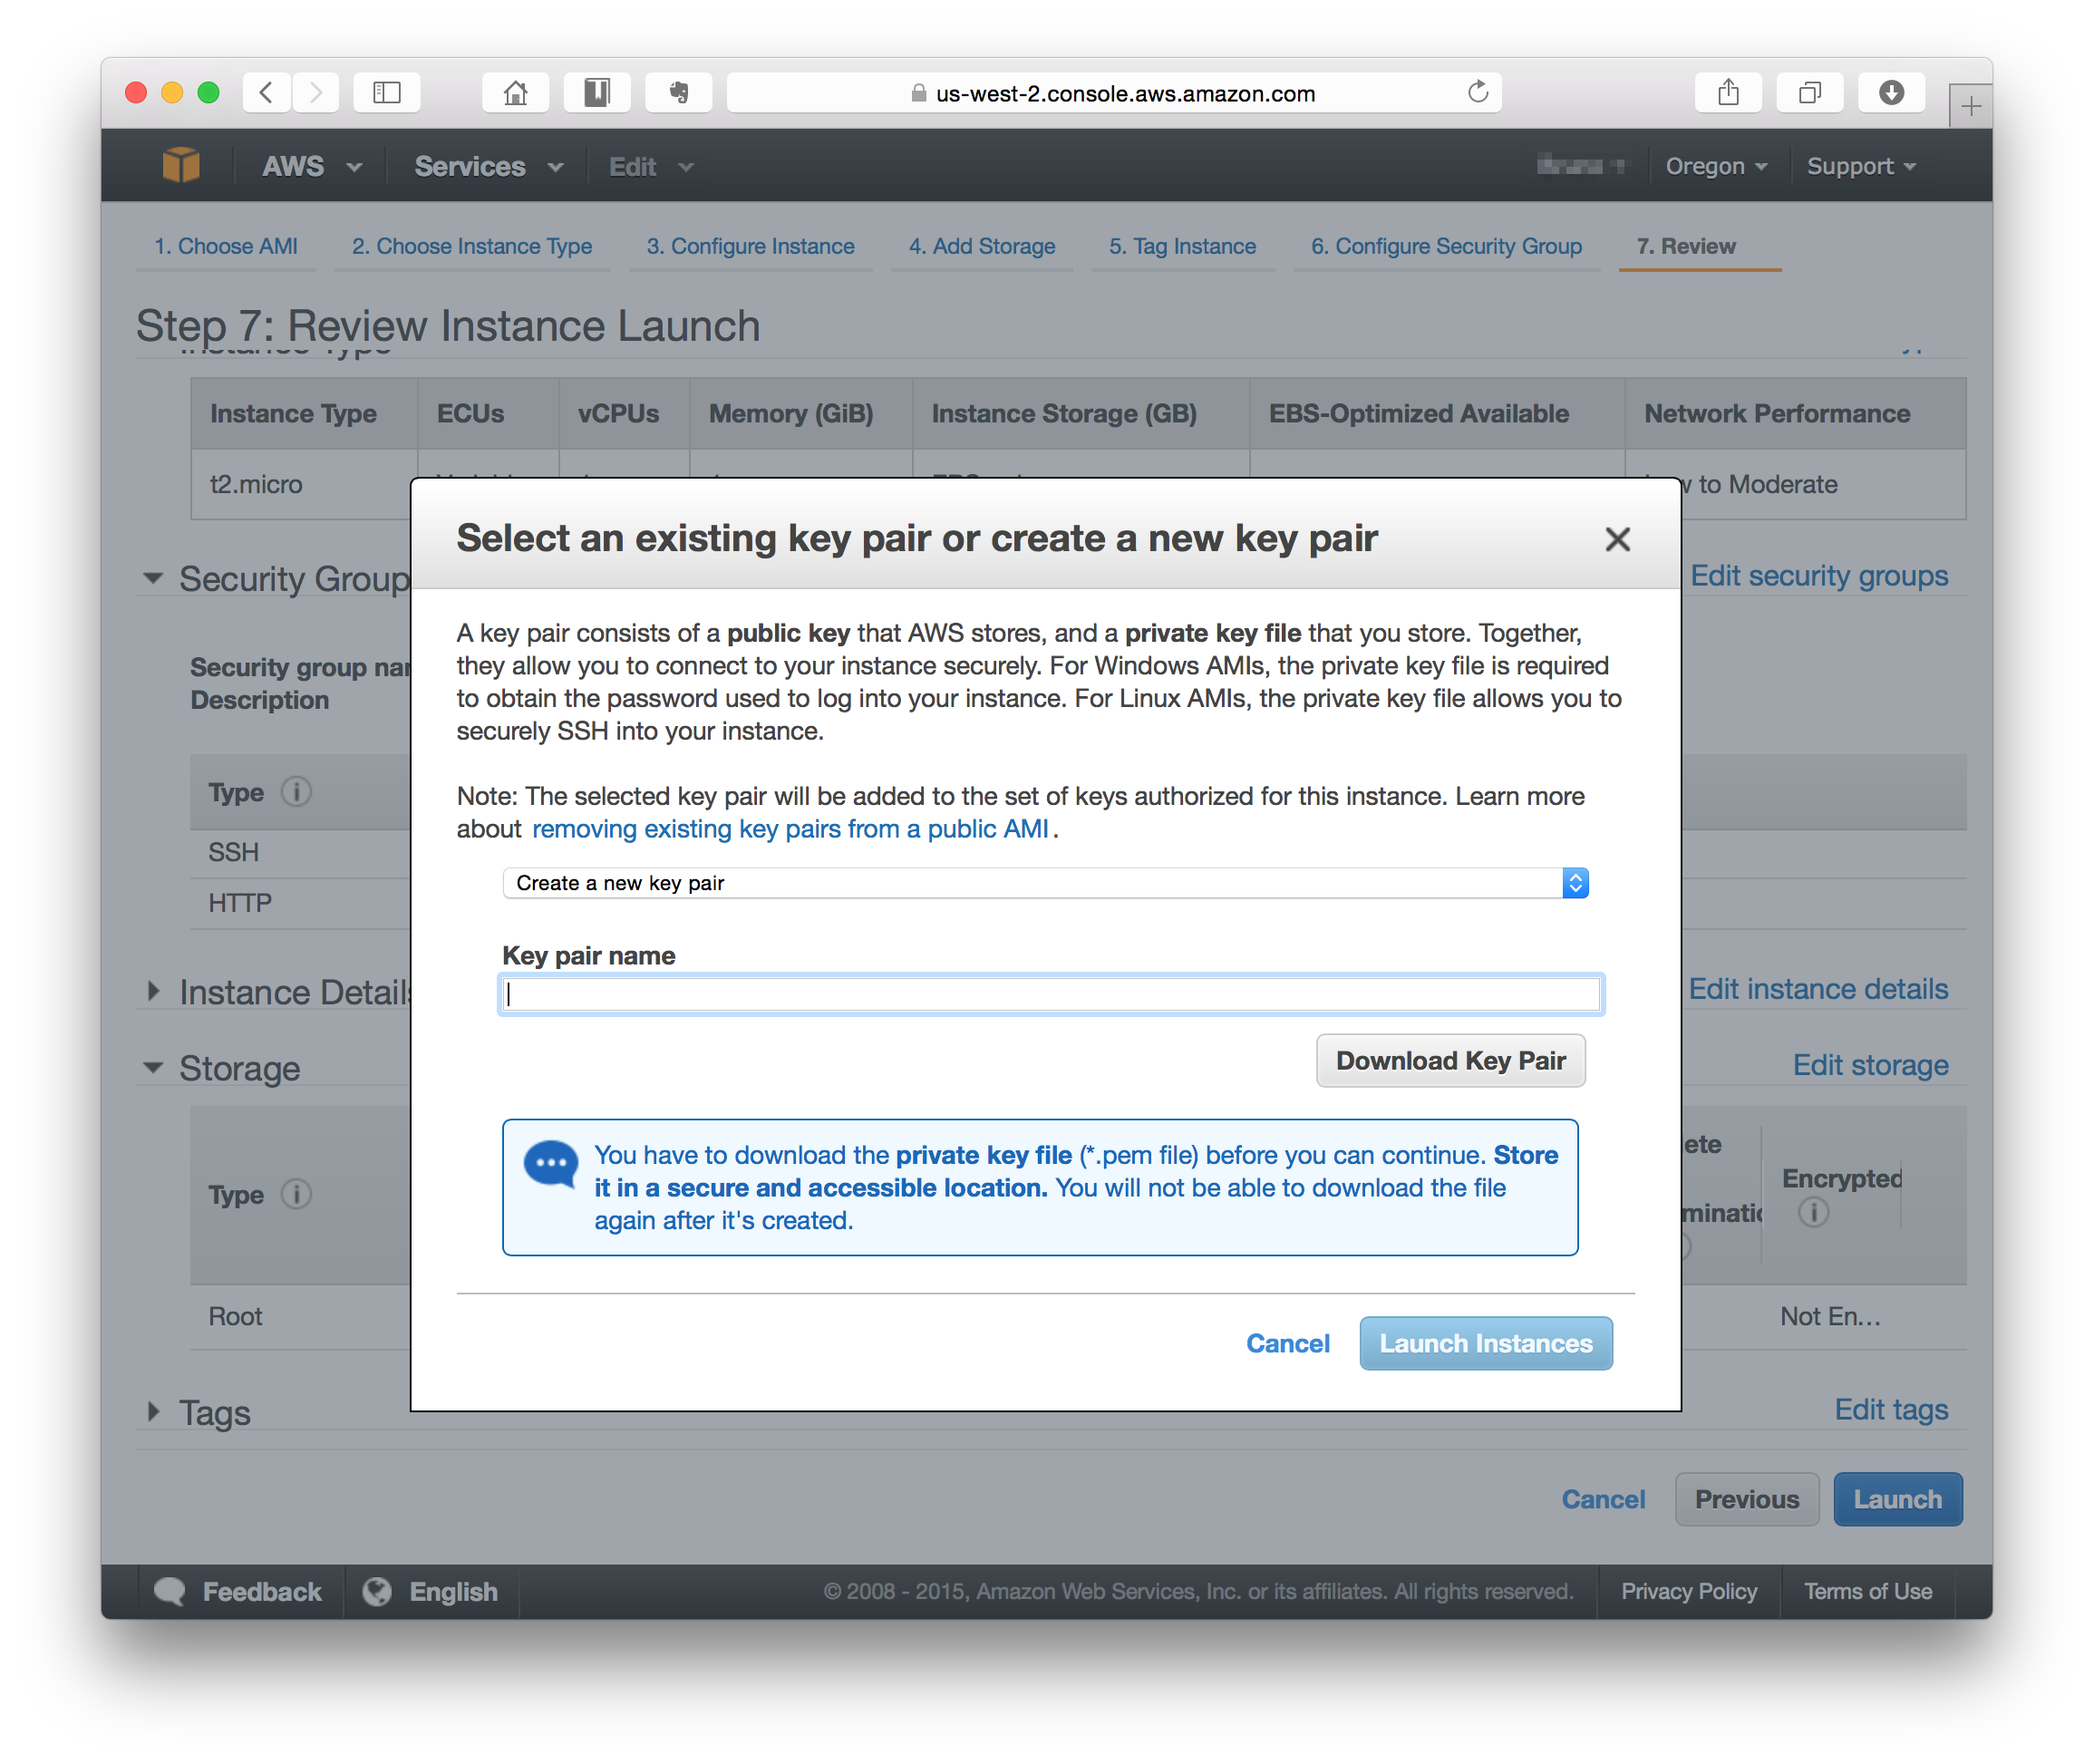
You'll be prompted to create a new key to connect to the server through SSH. Select "Create a new key pair" and insert the name of the key. Use any name you like. Hit "Download Key Pair" and your key will be downloaded. Make sure to back it up. If you lose it, you won't be able to connect to your server. You've been warned!
Now click on "Launch Instances".
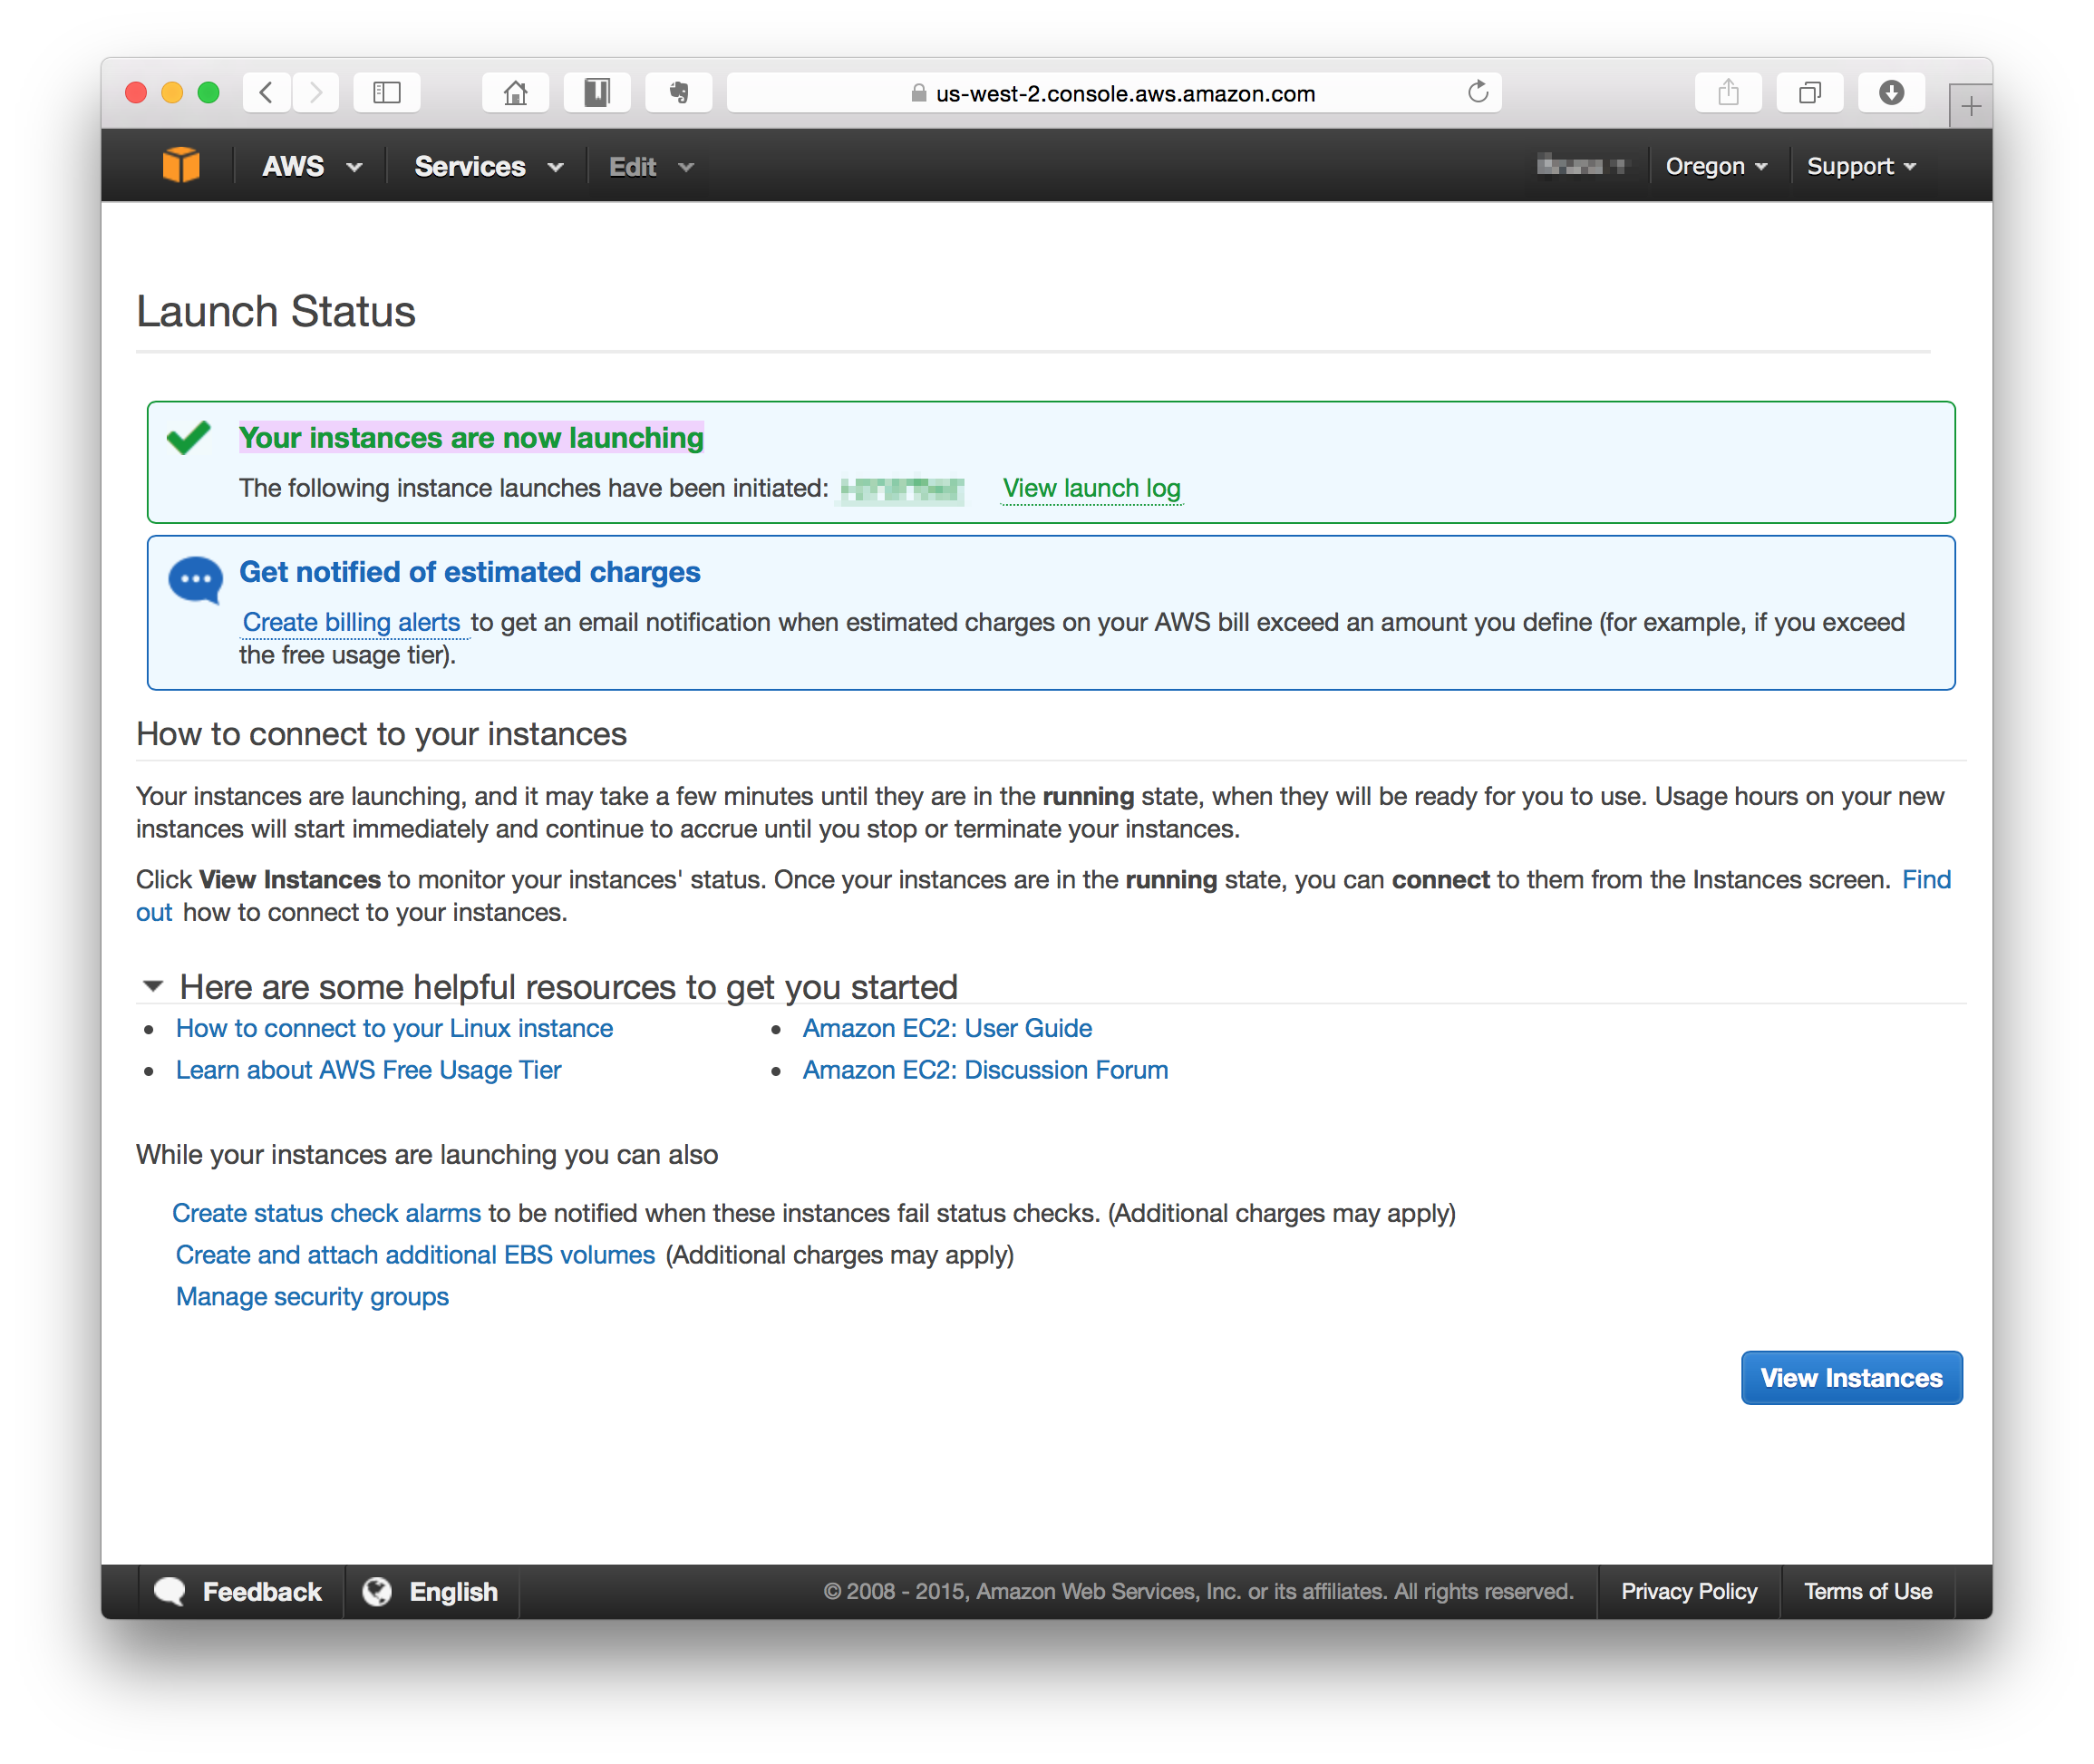
You're server is spinning up, take a moment to congratulate yourself!
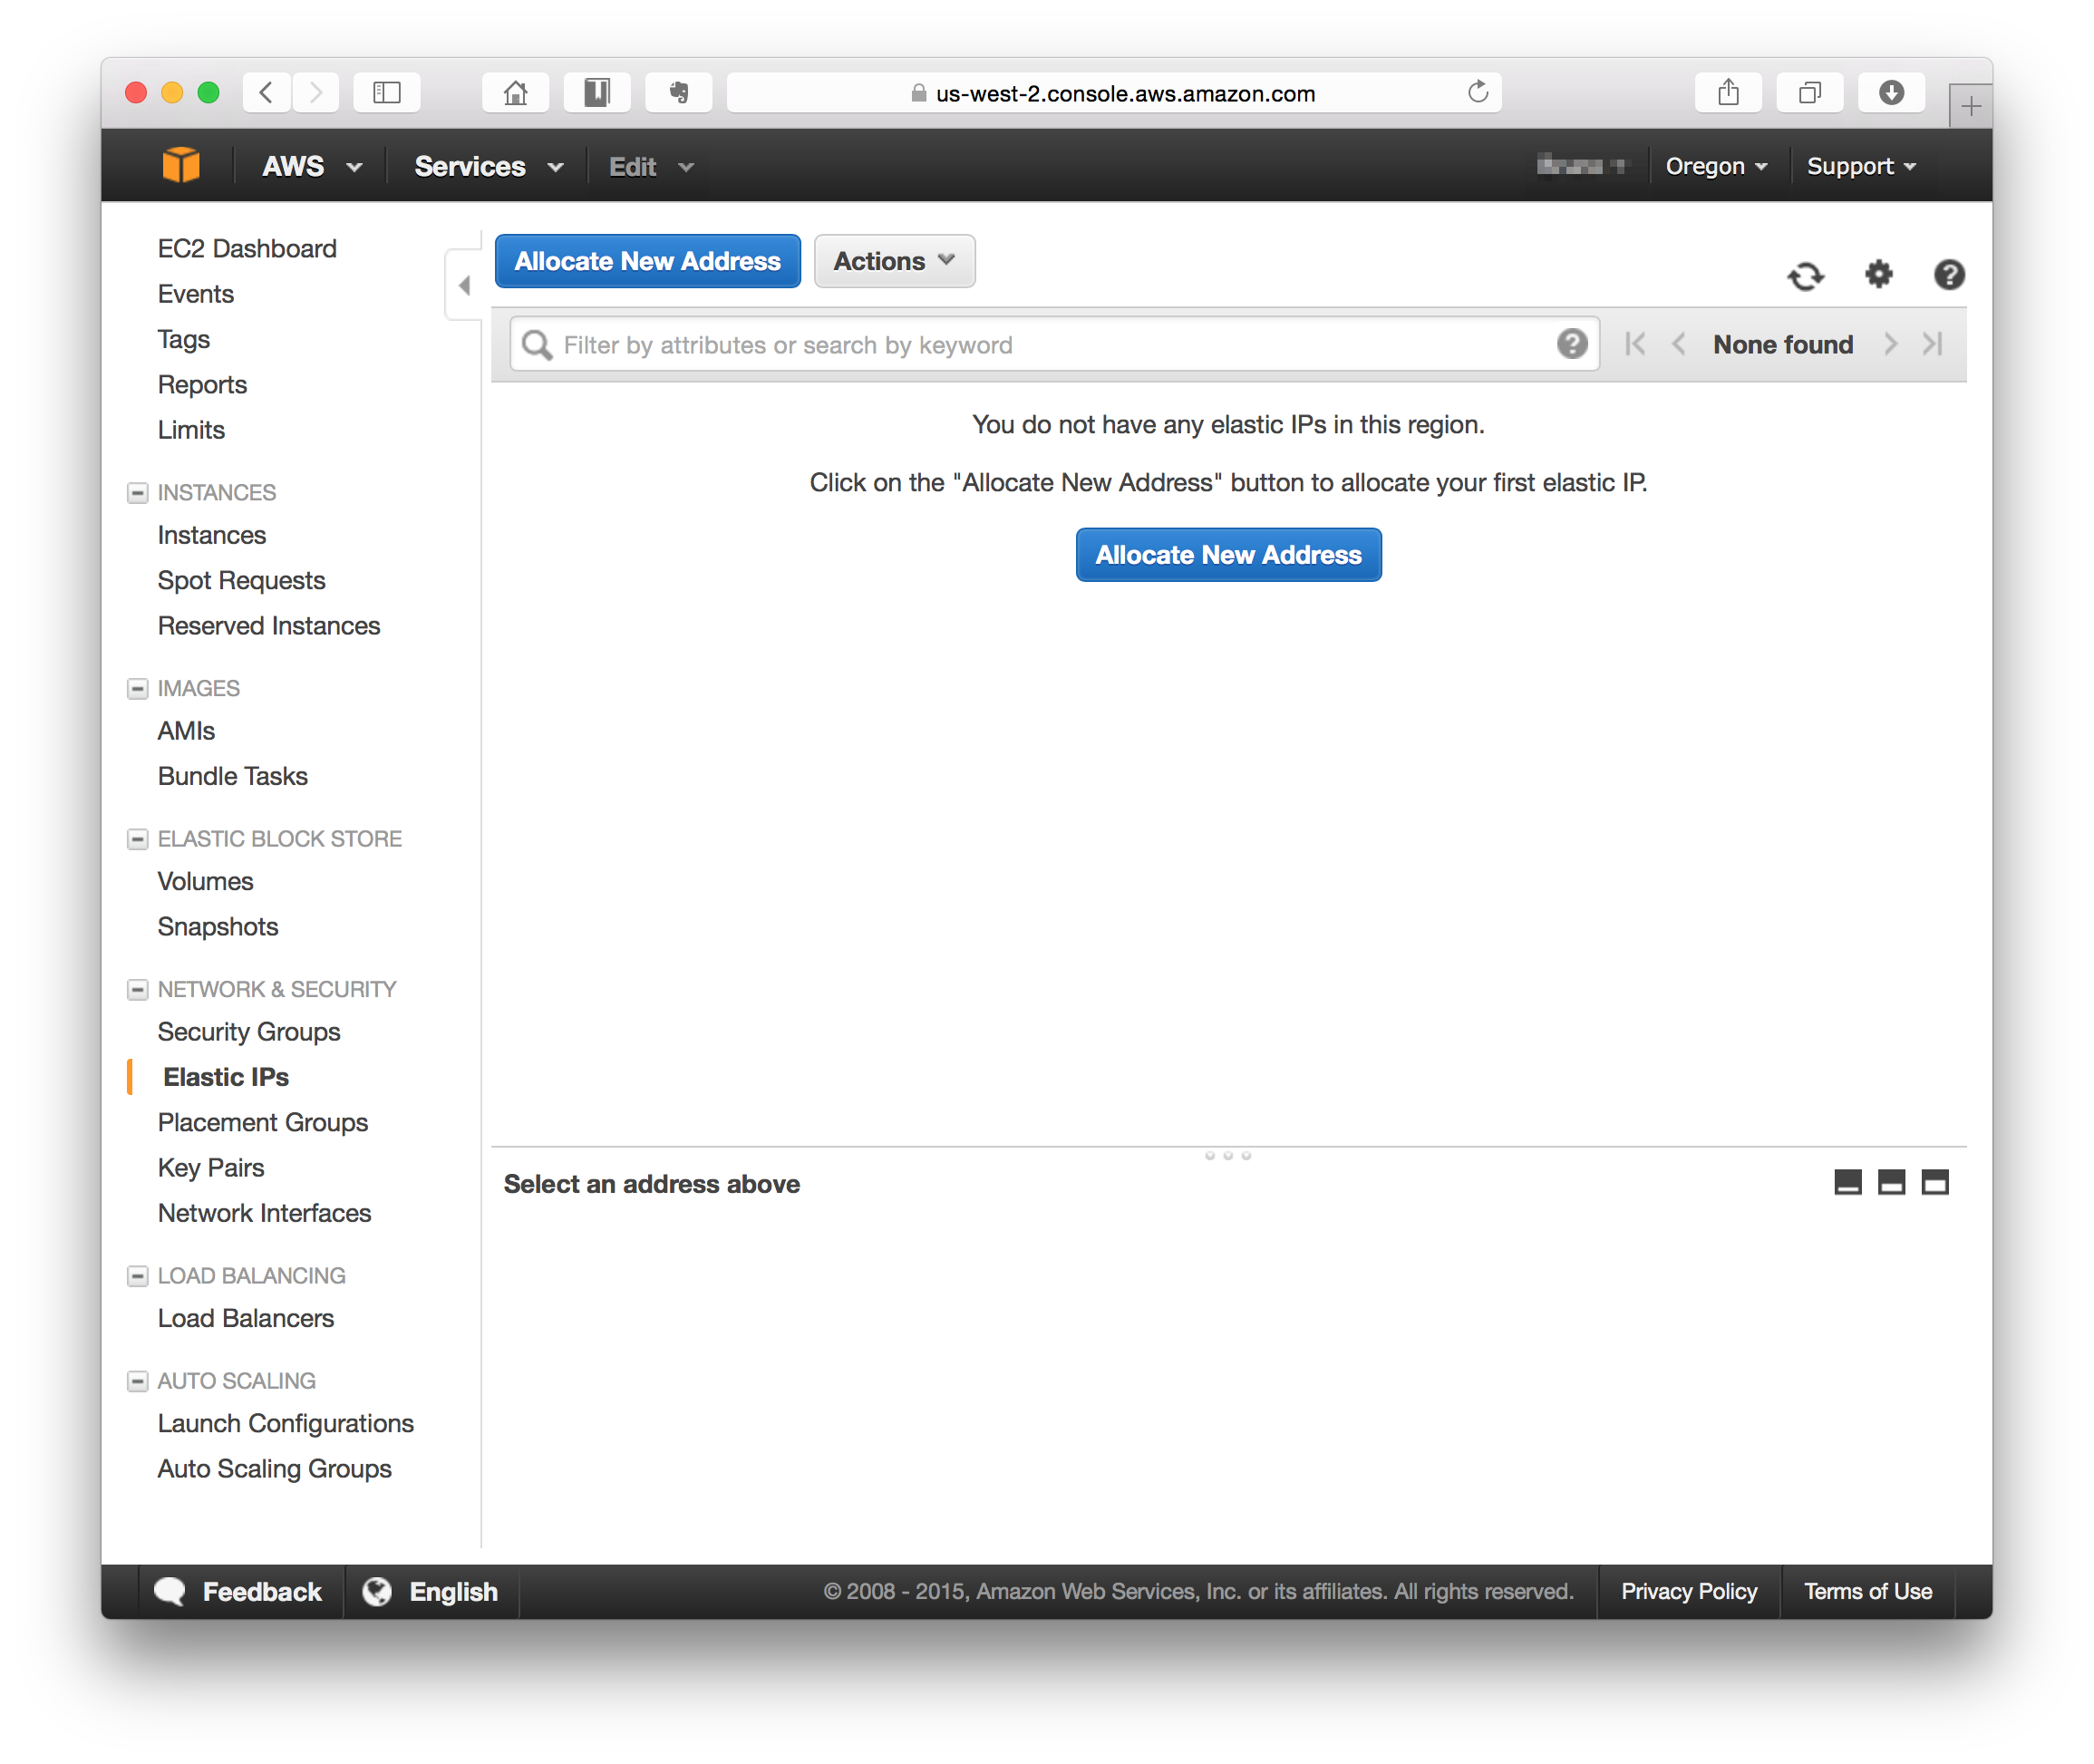
Now you need to assign an elastic IP to your instance. This ensures that if something happen to the instance, you can easily swap servers and retain the IP. Elastic IPs are re-assignable.
Click on "Allocate New Address".
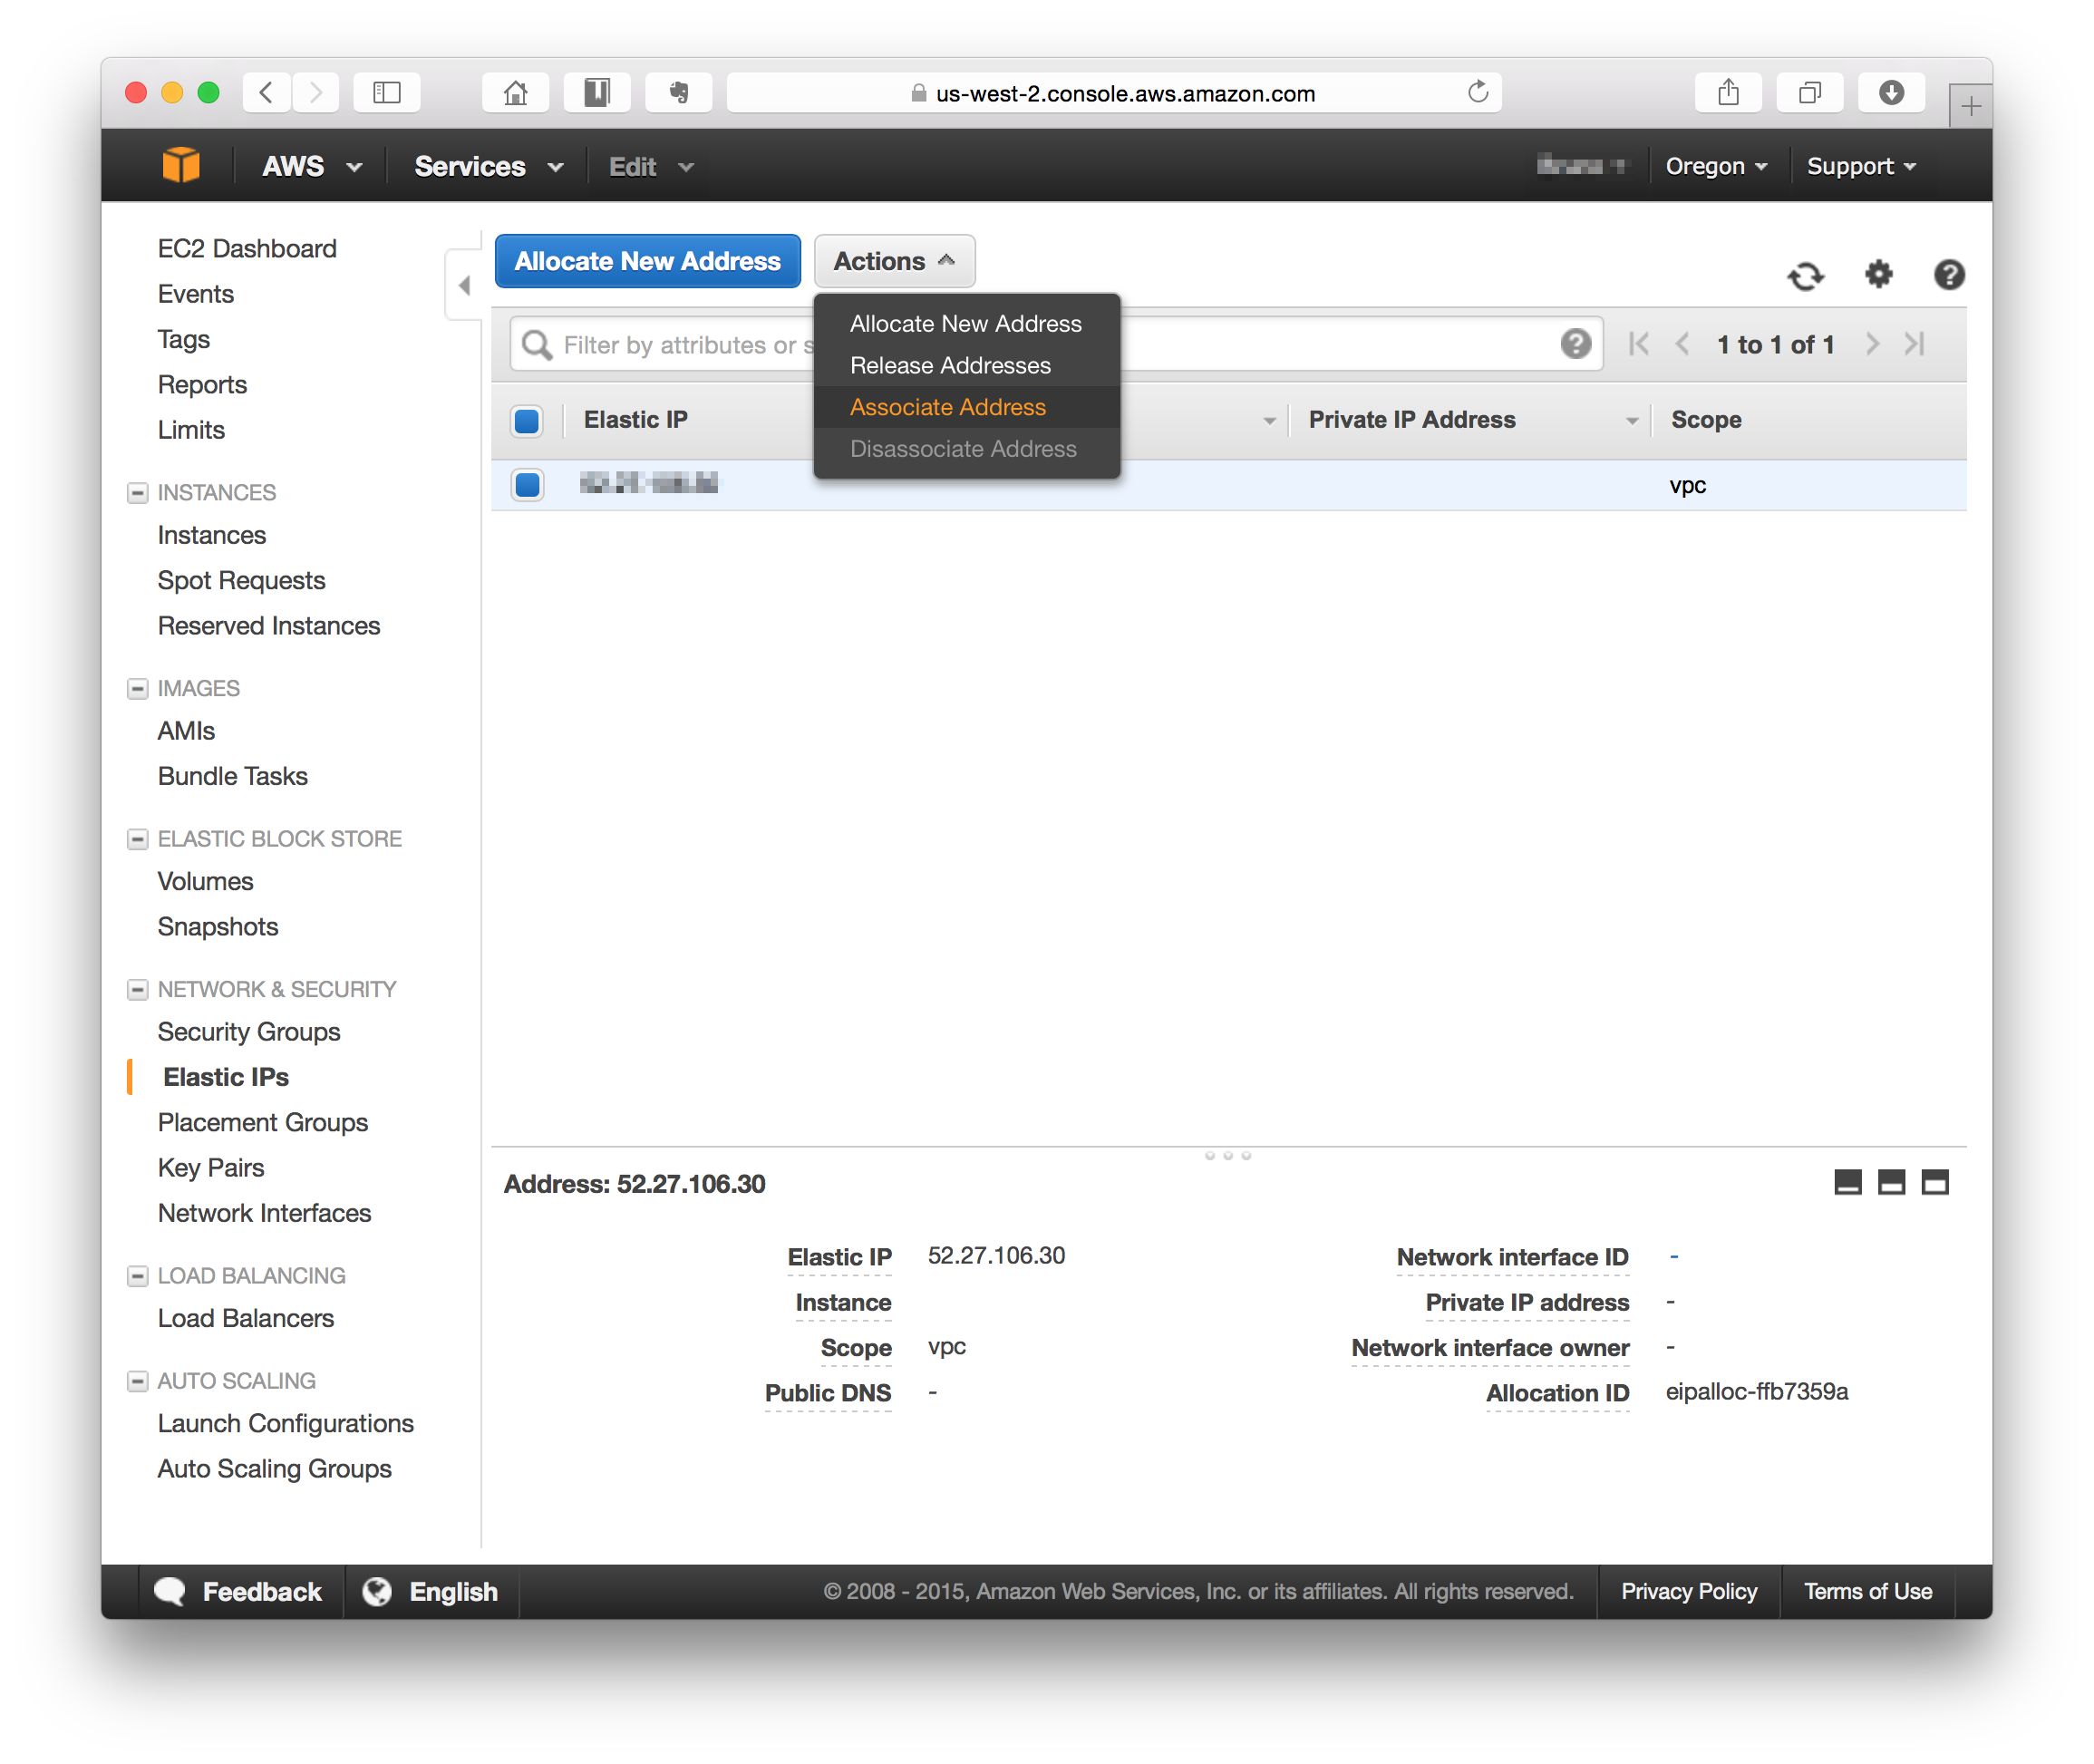
Select the elastic IP, click on "Actions" and "Associate Address".
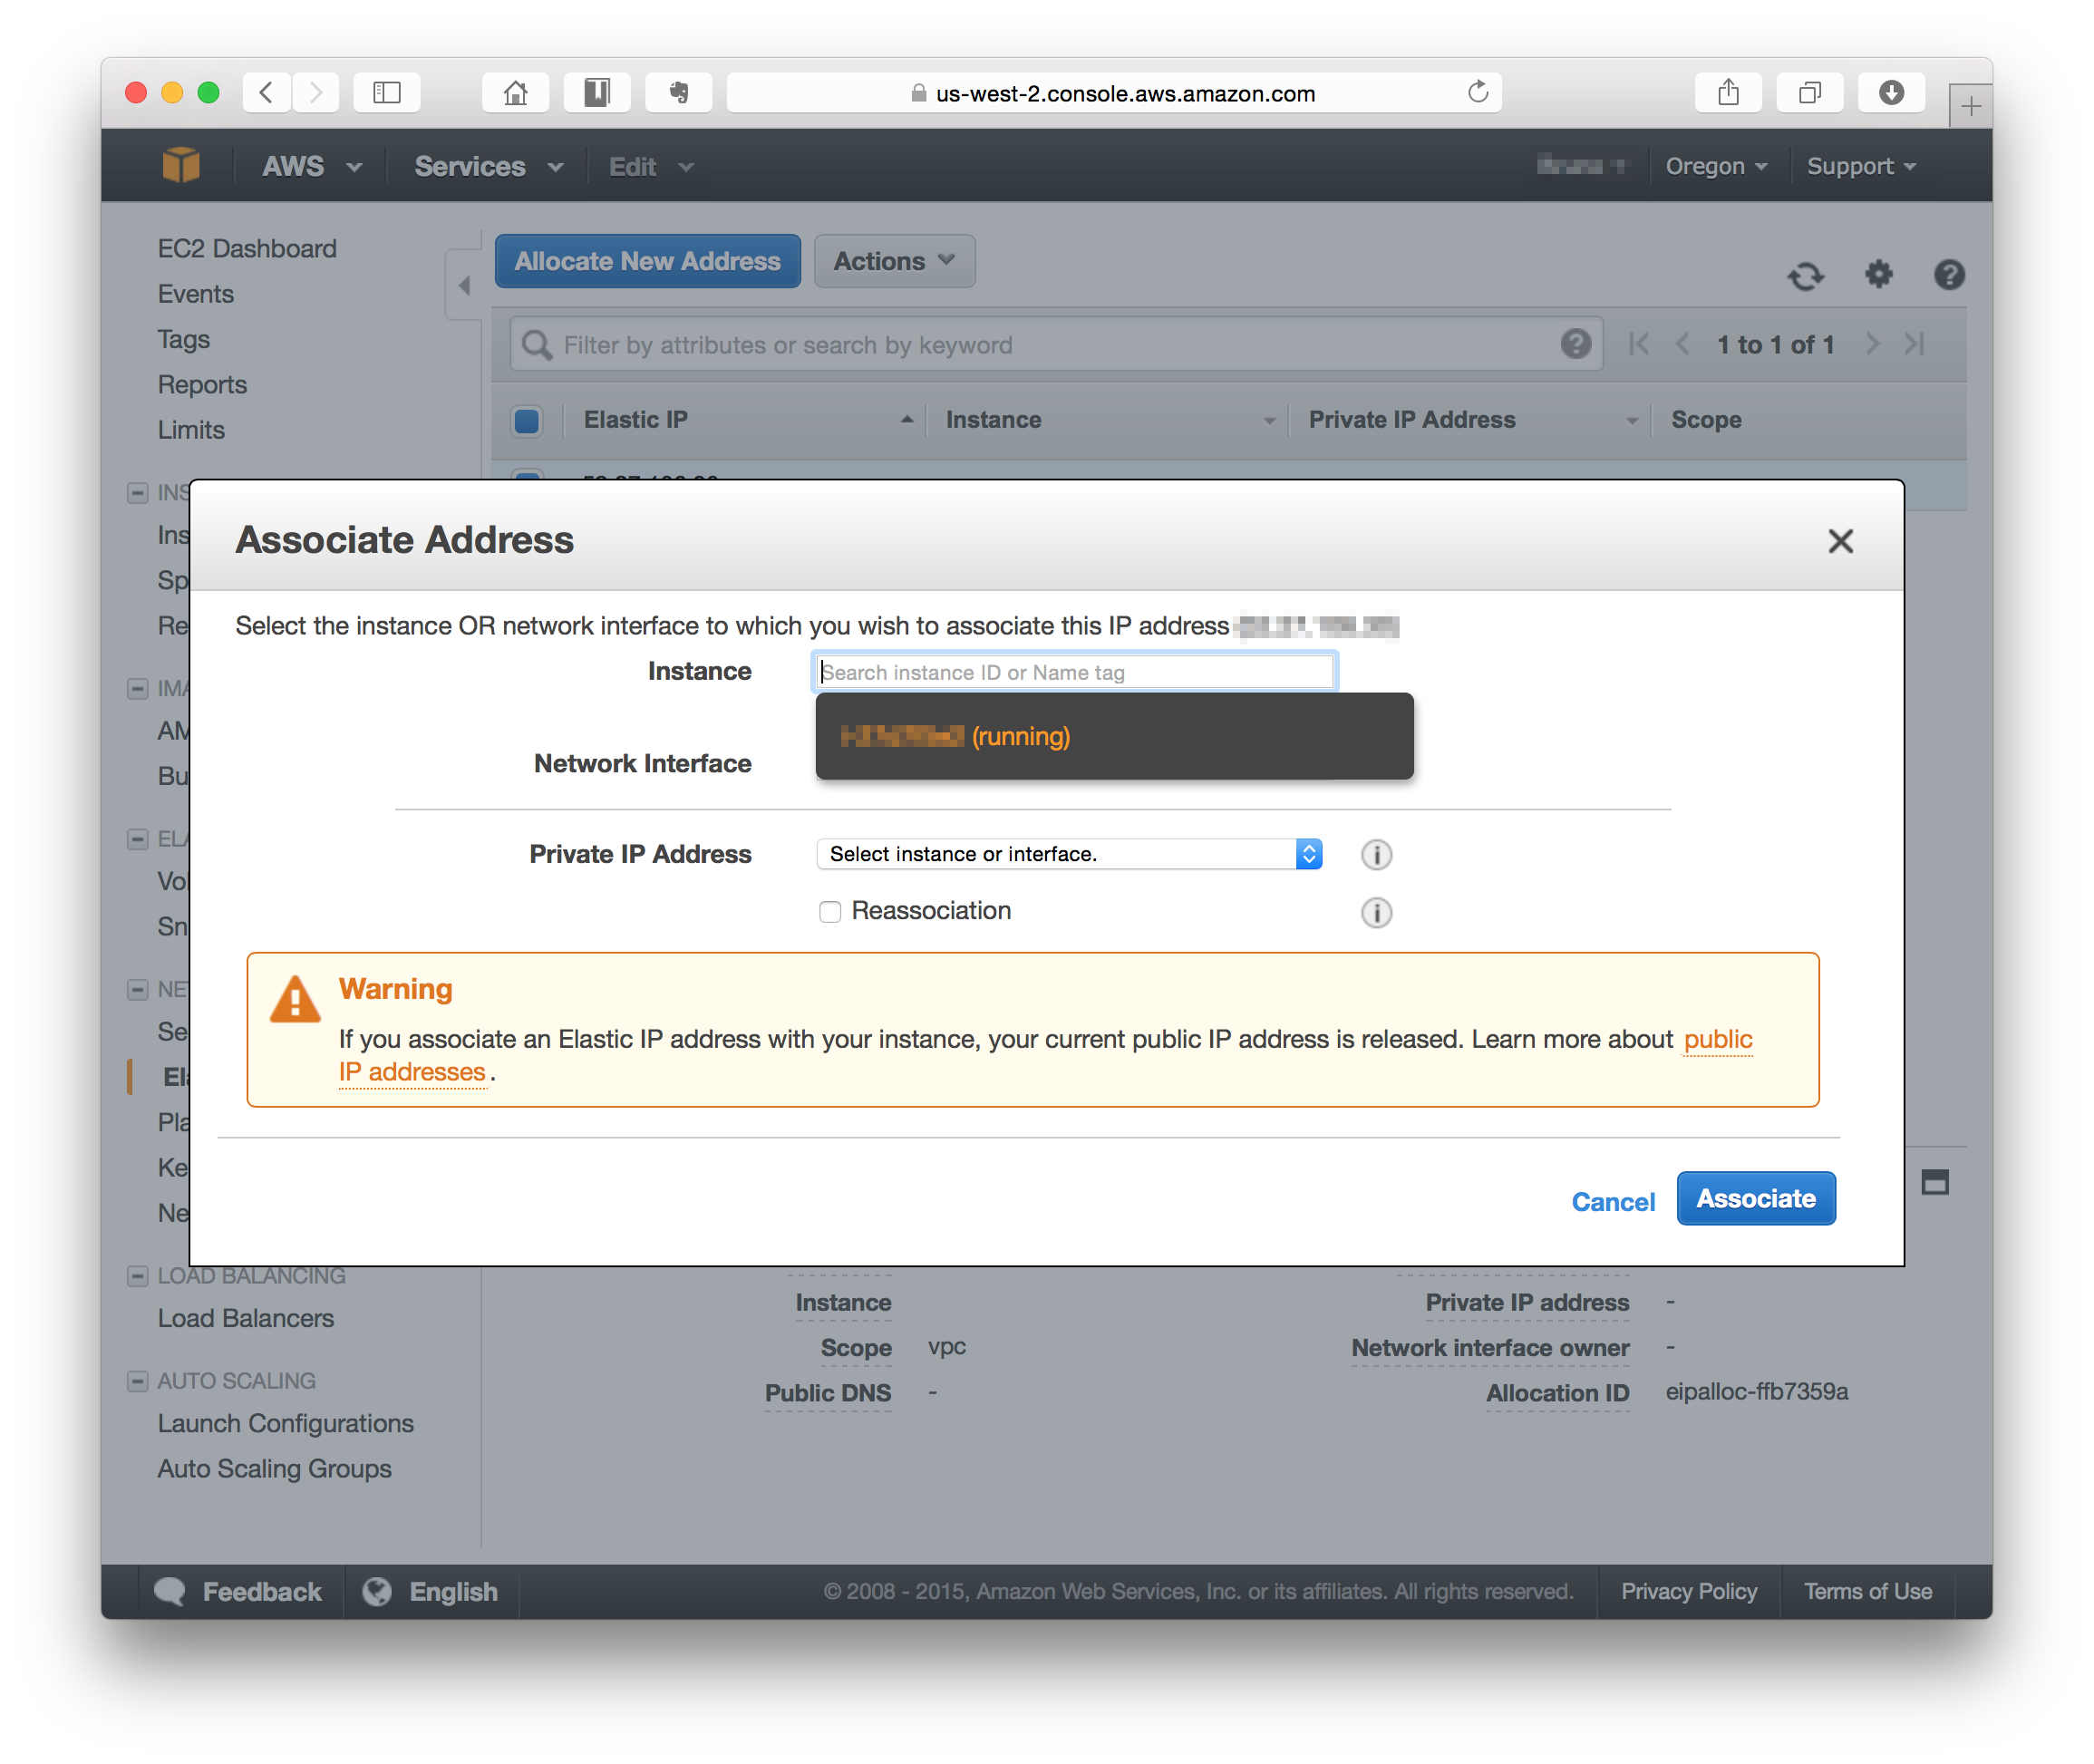
Select your instance name and click "Associate". This will be your IP address from now on. Also the previous public IP address will be released.
That's it. If you go on the Dashboard you'll see your instance getting ready.
Let's configure your computer to connect to the new server when it's ready.
On a Windows you can click here and follow the guide ;)
On a Mac you can follow those steps. Make sure you have Sublime Text installed.
Copy the key file to your desktop, then rename key.pem.txt to key.pem.
Open up the terminal and run:
$ cd desktop
$ cp key.pem ~/.ssh
$ chmod 400 ~/.ssh/key.pem
The last command makes sure your private key is protected by assigning the right permissions to it.
Now, with Sublime Text, open ~/.ssh/config. If you don't see hidden files you can use the shortcut ⌘ + ⇧ + . to show them in the open window.
Add this configuration and save.
Host name-server
HostName 000.000.000.000
User ec2-user
IdentityFile ~/.ssh/key.pem
ServerAliveInterval 60
Now you can open the terminal and type $ ssh name-server. The first time you will be asked to accept a new fingerprint from a new machine, type yes.
Congratulations! You're now logged to your server!!
A little explanation of the configuration:
Host is the name the you want to use to ssh into your server.
HostName is the IP address.
User is always ec2-user by default.
IdentityFile is the path to your private key.
ServerAliveInterval keeps the connection alive while you're not using it. Even though this is not necessary, when you're connected to your servers it allows you to keep the connection open indefinitely. Without it, the connection will timeout.