I've been following those guys at the Internet Security Research Group (ISRG) for a while and I was very excited when they got Let's Encrypt out of beta!
Let's Encrypt is a free, automated, and open certificate authority — If you don't know them, you should.
They have multiple clients you can use to setup let's encrypt certificates on your server. I liked the "suggested" one, such an awesome name.
Certbot. — You can see the docs here.
Prerequisites
- Amazon Linux AMI 2 / Should be fine with Ubuntu as well.
- NGINX
- EPEL repo enabled. (Look here for details,
$ sudo amazon-linux-extras install epel.)
If you need to setup a server from scratch, look here.
Let's Get Started!
SSH into your machine and install certbot.
$ sudo yum install certbot python2-certbot-nginx
Once the process finish we can start creating the certificates we need.
$ sudo certbot certonly --nginx
After launching the command, certbot does a quick scan of your nginx configuration and it prompts you with a list. Select the one you want to create, if you want to create more than one you can use commas or a space to separate them. Please note that during the creation process certbot will try to contact your domain name and will verify that it is pointing to your server. If you don't have it setup yet, it will fail.
Once the generation is completed you should be seeing the message that the certificates are generated and stored correctly.
 - Congratulations! Your certificate and chain have been saved at:
   /etc/letsencrypt/live/example.com/fullchain.pem
   Your key file has been saved at:
   /etc/letsencrypt/live/example.com/privkey.pem
   Your cert will expire on 2019-12-10. To obtain a new or tweaked
   version of this certificate in the future, simply run certbot
   again. To non-interactively renew *all* of your certificates, run
   "certbot renew"
We're almost ready to add the certificates to our nginx configuration! To add a little extra security we can generate our own dhparams. Usually I store them under /etc/ssh/example.com/dhparam.pem, but you can store them where you prefer.
$ sudo mkdir -p /etc/ssl/example.com
$ sudo openssl dhparam -out /etc/ssl/example.com/dhparam.pem 4096
Let it complete, it will take a few minutes, but you have to do it only once.
NGINX
We need to edit the server configuration and add the directives for the certificates.
$ sudo vim /etc/nginx/sites-enabled/example.com.conf
Modify your configuration as showed below.
server {
	add_header X-Frame-Options SAMEORIGIN;
	add_header X-Content-Type-Options nosniff;
	add_header X-XSS-Protection "1; mode=block";
	add_header Strict-Transport-Security 'max-age=31536000;';

	listen 443 ssl;
	server_name example.com;
	ssl_certificate /etc/letsencrypt/live/example.com/fullchain.pem;
	ssl_certificate_key /etc/letsencrypt/live/example.com/privkey.pem;
	ssl_trusted_certificate /etc/letsencrypt/live/example.com/fullchain.pem;
	ssl_dhparam /etc/ssl/example.com/dhparam.pem;
	ssl_protocols TLSv1 TLSv1.1 TLSv1.2;
	ssl_prefer_server_ciphers on;
	ssl_session_cache shared:SSL:10m;
	ssl_ciphers 'kEECDH+ECDSA+AES128 kEECDH+ECDSA+AES256 kEECDH+AES128 kEECDH+AES256 kEDH+AES128 kEDH+AES256 DES-CBC3-SHA +SHA !aNULL !eNULL !LOW !kECDH !DSS !MD5 !EXP !PSK !SRP !CAMELLIA !SEED';
	ssl_stapling on;

	charset utf-8;

	location = /favicon.ico { access_log off; log_not_found off; }
	location = /robots.txt	{ access_log off; log_not_found off; }

	access_log /var/log/nginx/example.com_access.log;
	error_log /var/log/nginx/example.com_error.log;

	# Your directives here.
    # This is where you're actually serving your content.
}

# Redirect HTTP to HTTPS.
server {
	listen 80;
	server_name example.com;

	return 301 https://example.com$request_uri;
}

# Redirect WWW to not WWW domain.
# Please note WWW will need his own certificate and dhparam.
server {
	listen 80;
	listen 443 ssl;
	server_name www.example.com;
	ssl_certificate /etc/letsencrypt/live/www.example.com/fullchain.pem;
	ssl_certificate_key /etc/letsencrypt/live/www.example.com/privkey.pem;
	ssl_trusted_certificate /etc/letsencrypt/live/www.example.com/fullchain.pem;
	ssl_dhparam /etc/ssl/www.example.com/dhparam.pem;
	ssl_protocols TLSv1 TLSv1.1 TLSv1.2;
	ssl_prefer_server_ciphers on;
	ssl_session_cache shared:SSL:10m;
	ssl_ciphers 'kEECDH+ECDSA+AES128 kEECDH+ECDSA+AES256 kEECDH+AES128 kEECDH+AES256 kEDH+AES128 kEDH+AES256 DES-CBC3-SHA +SHA !aNULL !eNULL !LOW !kECDH !DSS !MD5 !EXP !PSK !SRP !CAMELLIA !SEED';
	ssl_stapling on;

	return 301 https://example.com$request_uri;
}
Save and restart nginx $ sudo service nginx restart.
Certificate Renewal
Now for automatic certificate renewals we're going to create an `.sh` script that will be executed by the cron periodically. I like to keep all my cron scripts under ~/scripts/cron but you can save them wherever you like.
$ mkdir -p ~/scripts/cron && vim ~/scripts/cron/certbot-renew.sh
Put the following inside, save and exit!
#!/bin/sh
dt=$(date '+%d/%m/%Y %H:%M:%S');
echo "### Started @ $dt ###"

python -c 'import random; import time; time.sleep(random.random() * 3600)' && certbot renew --pre-hook "service nginx stop" --post-hook "service nginx start"

dt=$(date '+%d/%m/%Y %H:%M:%S');
echo "### Ended @ $dt ###"
echo ""
echo ""
The beginning & ending lines simply produce an output that is useful later on to be able to create a entry on our log file. The centre piece of the script invoke a pyton script that creates a random wait time before attempting to run certbot renew, this helps certbot avoid that everybody is trying to perform this action at the same time around the world. The pre-hook and post-hook are run only if a certificate renewal is actually performed, so it's okay to run this often as it will not result in nginx stopping and starting, unless a certificate is renewed and replaced.
To add the above script to cron you can type $ sudo crontab -e to edit your crontab jobs for the user root. Certbot needs to run as root to be able to renew and write all the certificate files.
Add the following at the bottom of the file.
0 0,12 * * * /home/ec2-user/scripts/cron/certbot-renew.sh >> /home/ec2-user/log/cron.log
Save and you're good to go. Please note that I like to save a log in ~/log/cron.log so I can see the result of the cron running.
Log Rotation (Optional, but nice!)
Over time the log file can get big and it will start clogging your disk space. To avoid having to manage this manually we can use the utility logrotate.
To setup logrotate you have to simply edit `logrotate.conf` typing $ sudo vim /etc/logrotate.conf. Paste the following at the bottom of the file and save.
# My Log Files
/home/ec2-user/log/cron.log {
    weekly
    rotate 8
    create
}
This tells the logrotate utility to monitor the cron.log file, rotate the file every week, keep 8 weeks worth of files, and create a new file every time a rotation is performed. Brilliant!
Test
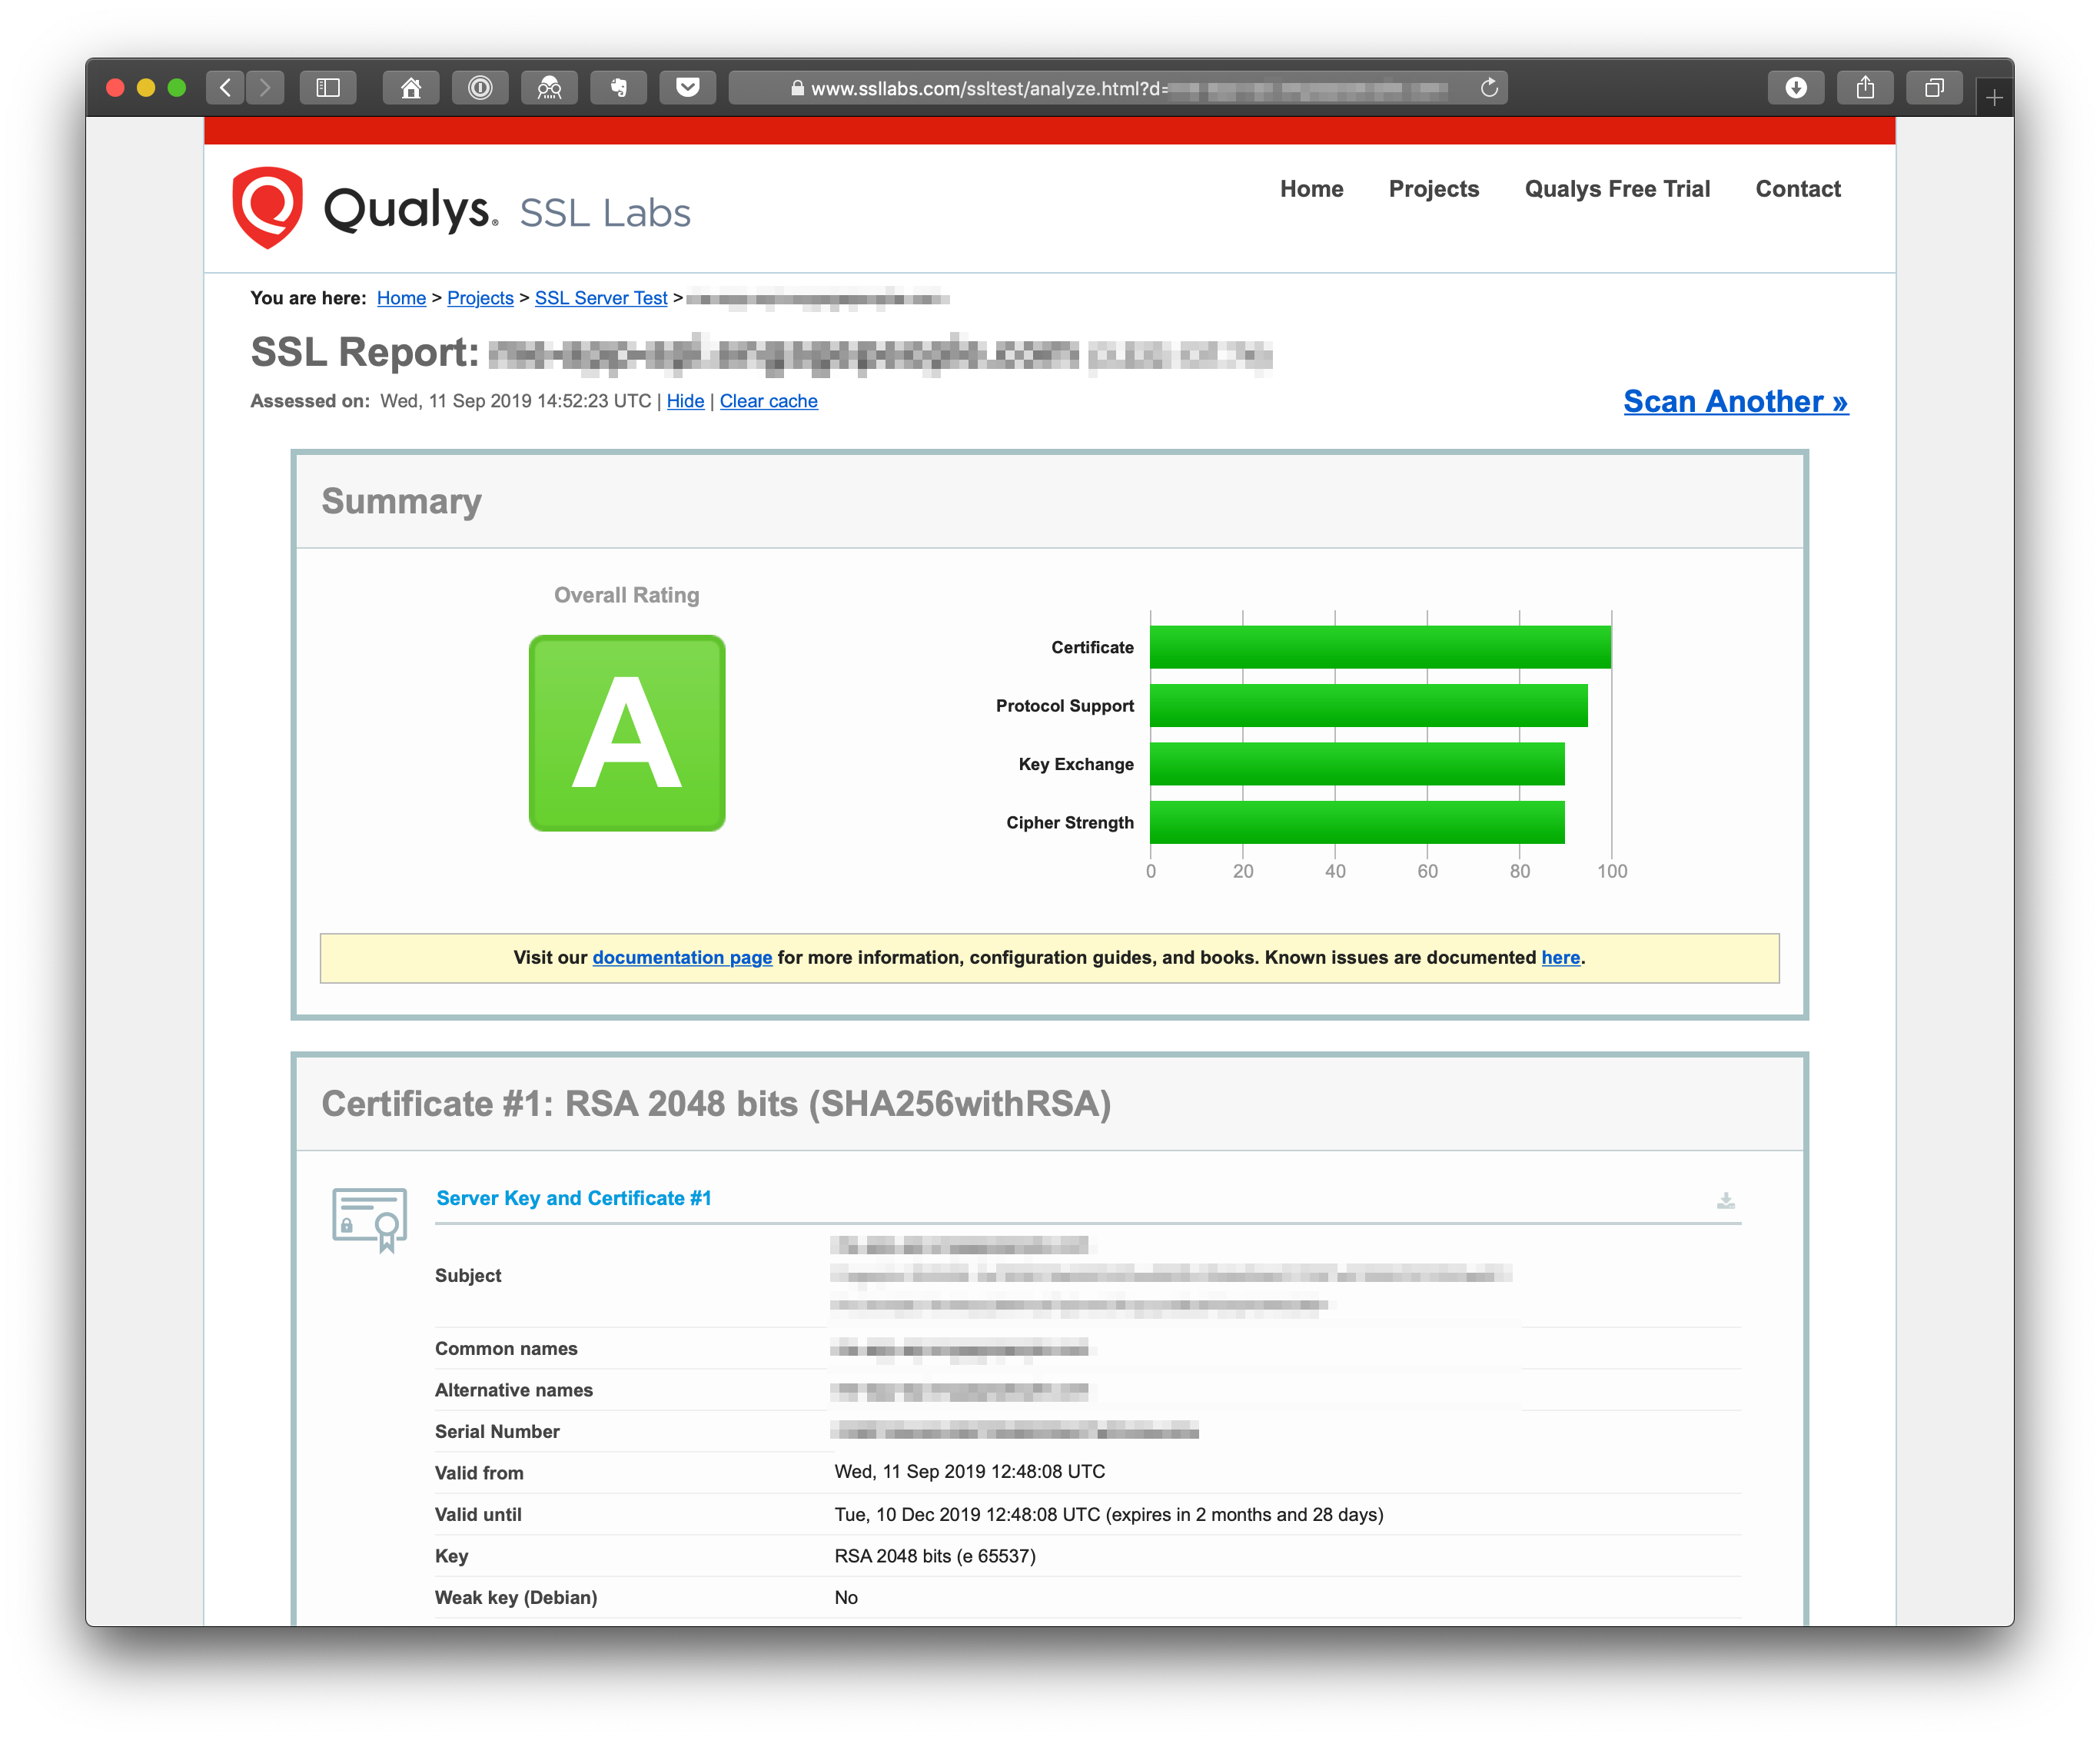
To test your SSL setup you can head over https://www.ssllabs.com/ssltest/ and type your website domain to get an idea of how good and secure your setup is!

Enjoy!
